I’ve reviewed many of Discovery Optics (DiscoveryOpt) scopes and a have found their top-tier scopes to be among the best values in terms of glass clarity and precision features. DiscoveryOpt opened a US office to service customers with their Lifetime warranty. They have been touring the country supporting PRS and long-range matches, promoting their scopes and getting first hand feedback on their products.
Nigel, the head of their US office, was traveling through San Francisco and we arranged to meet up at my local range. I reached out to my subscribers and collected questions about DiscoveryOpt that they wanted me to ask during our interview.
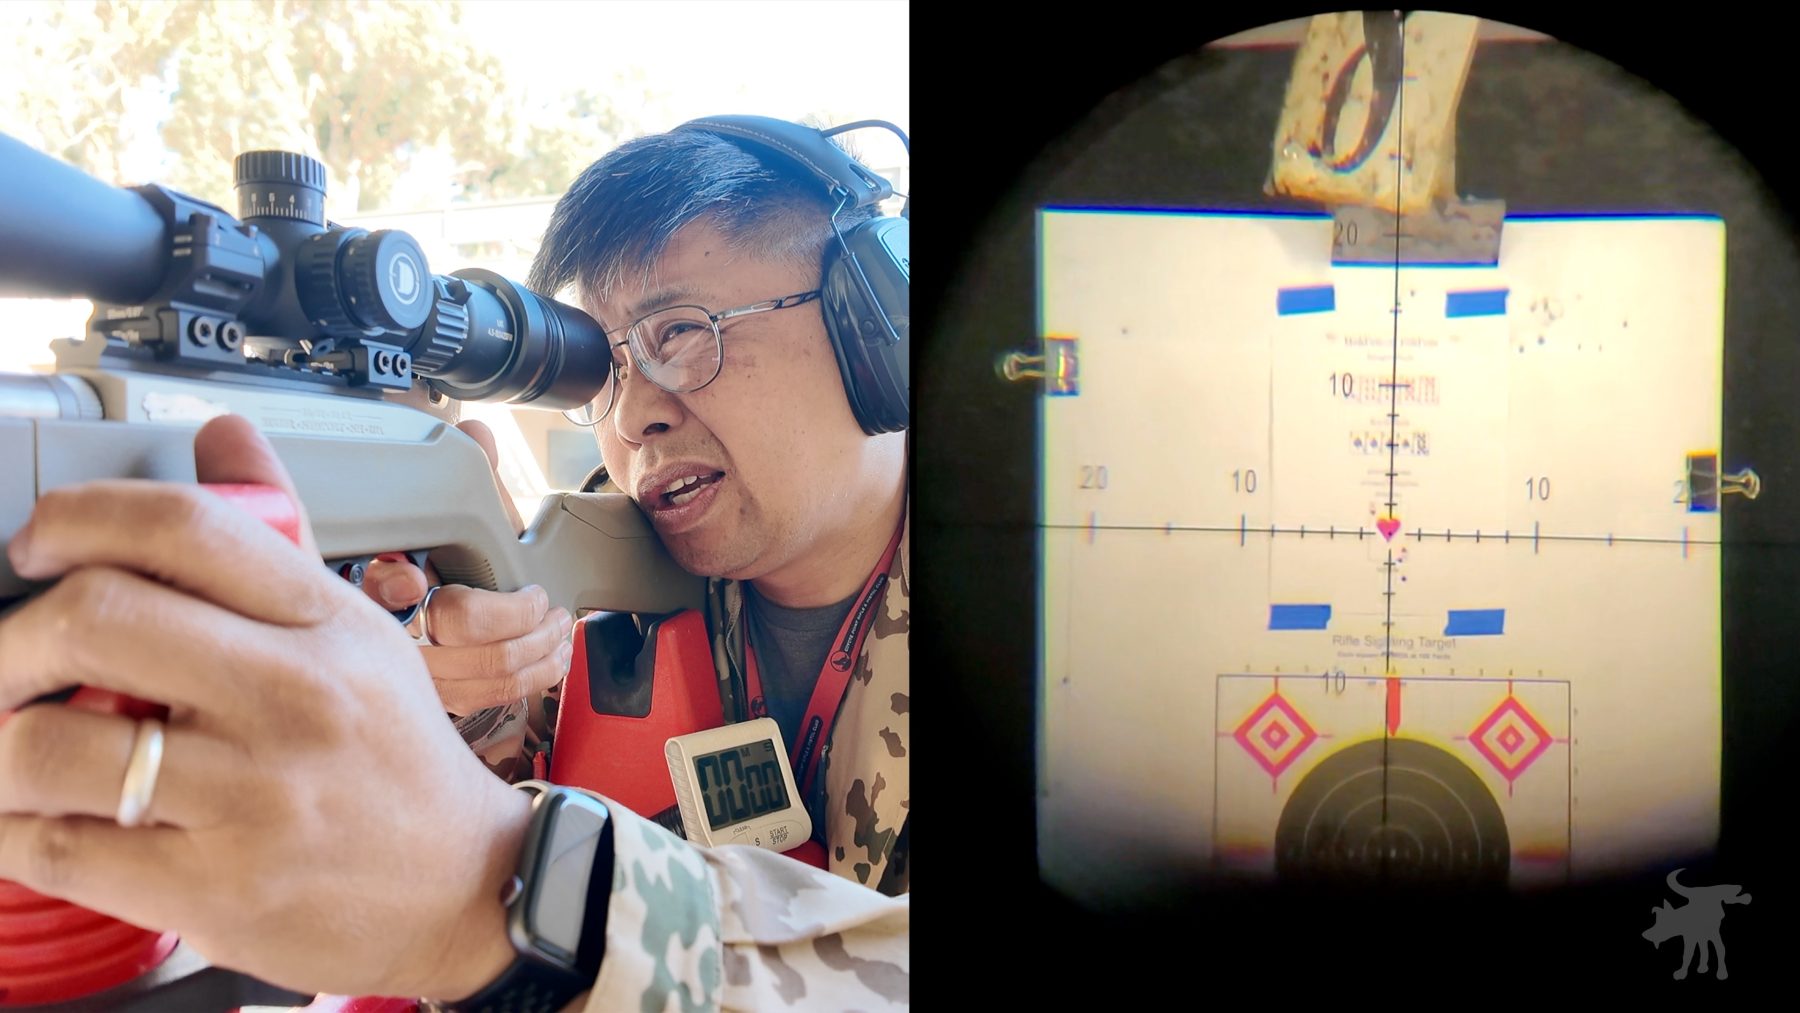
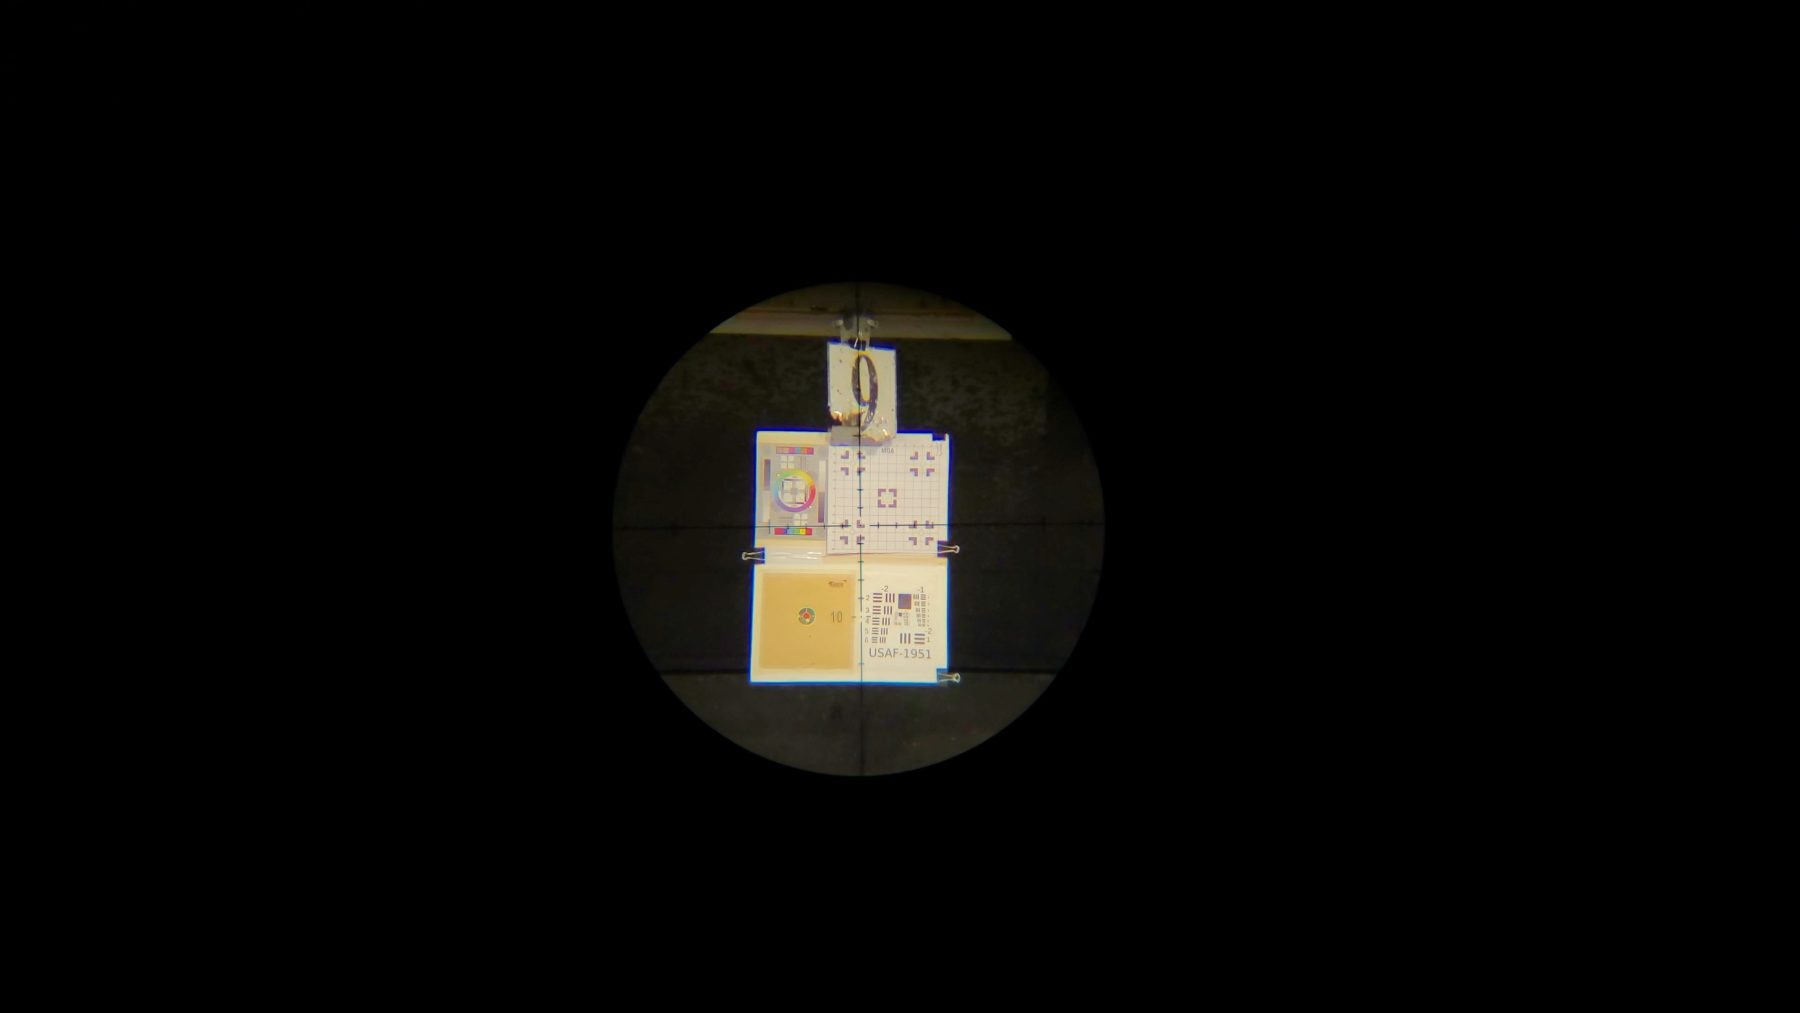
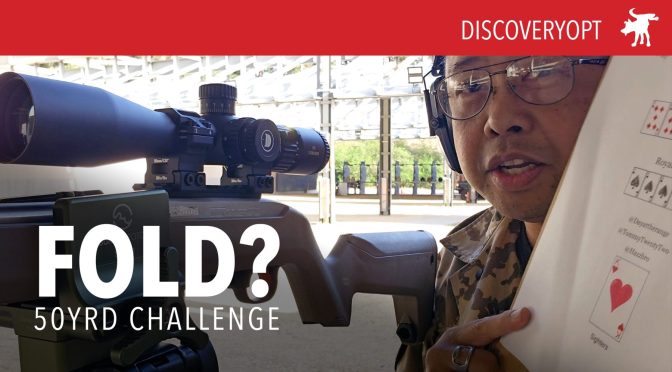
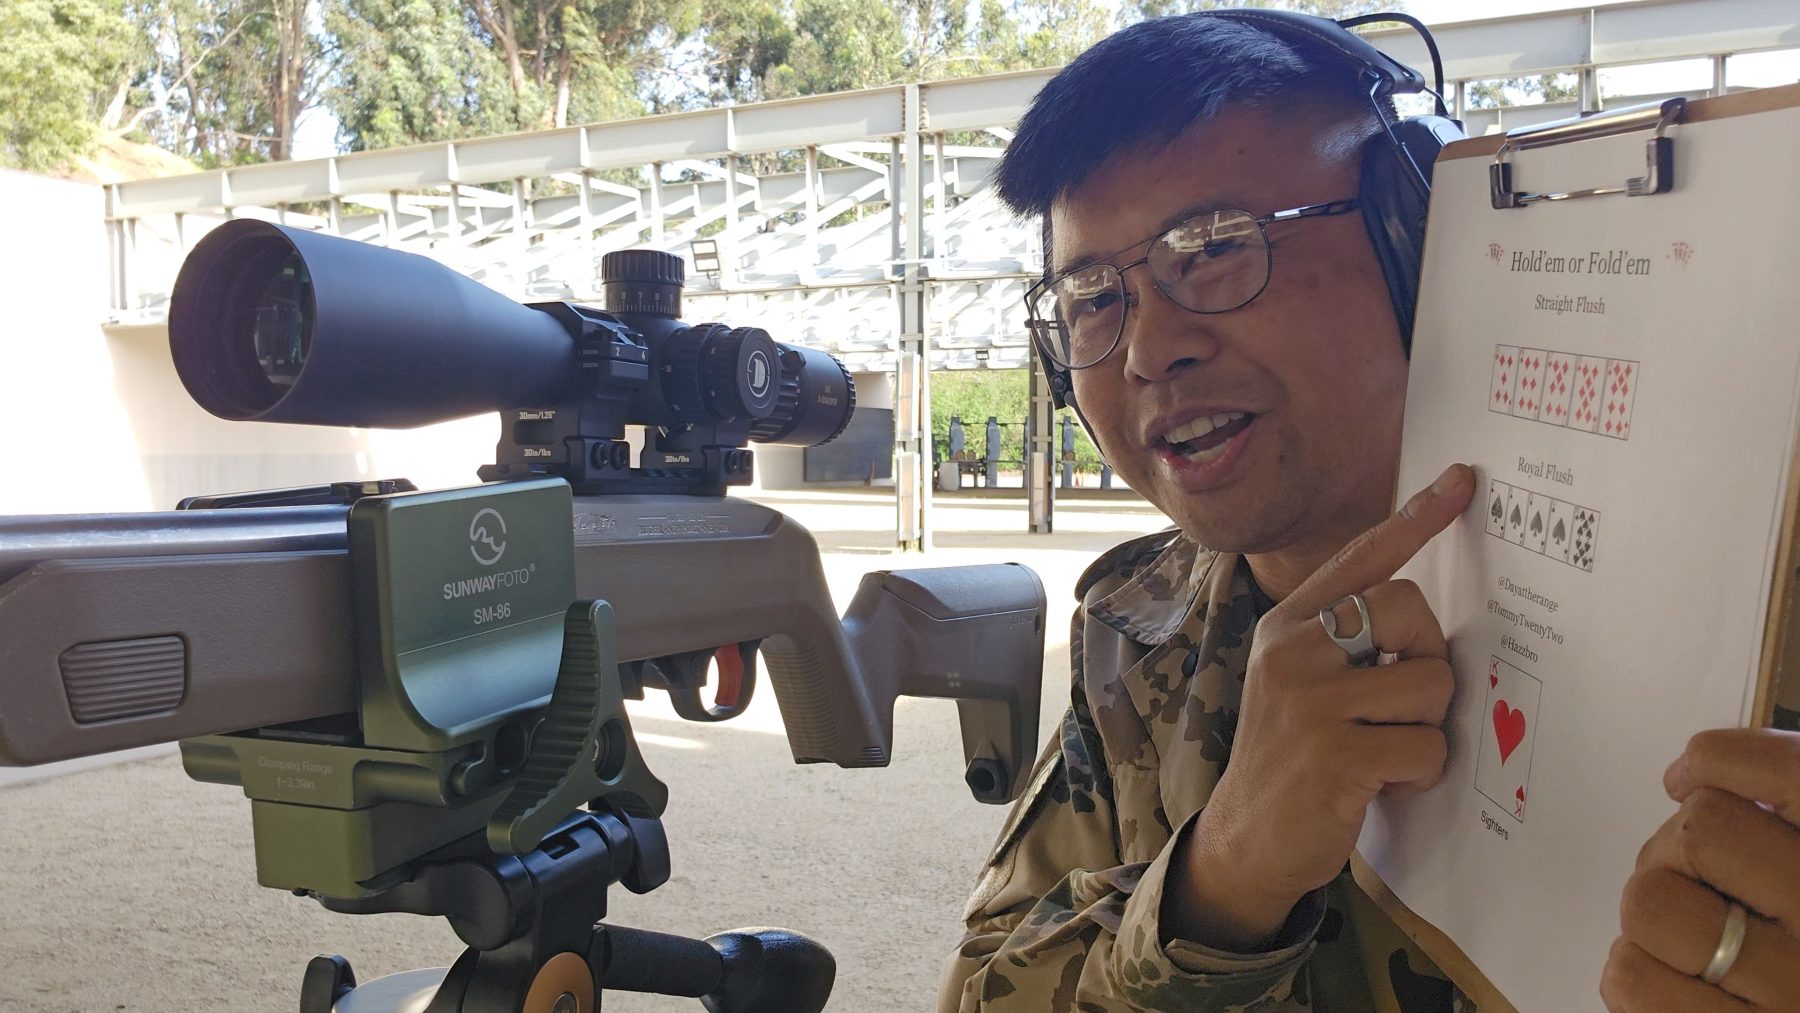
My YouTube friends @Dayattherange and @Hazzbro1964 created a deceptively tricky .22 rimfire challenge target called Hold Em or Fold Em. https://dayattherange.com/holdem-or-foldem/5/
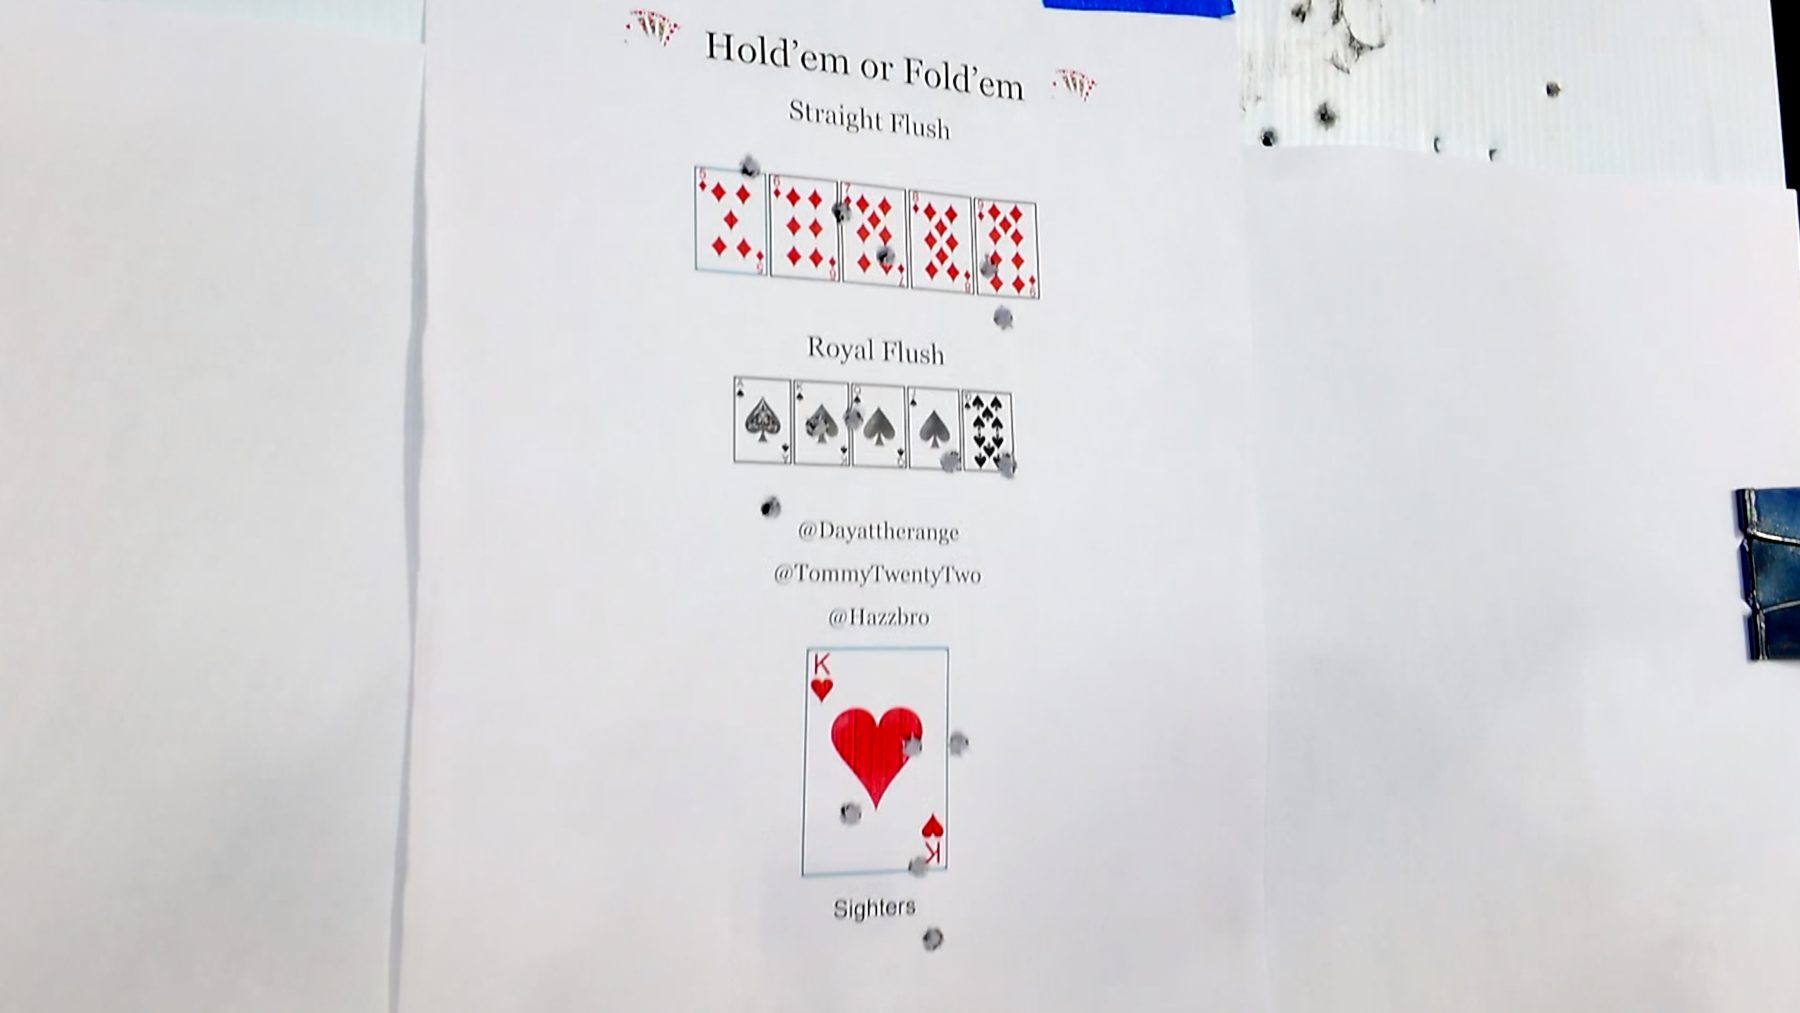
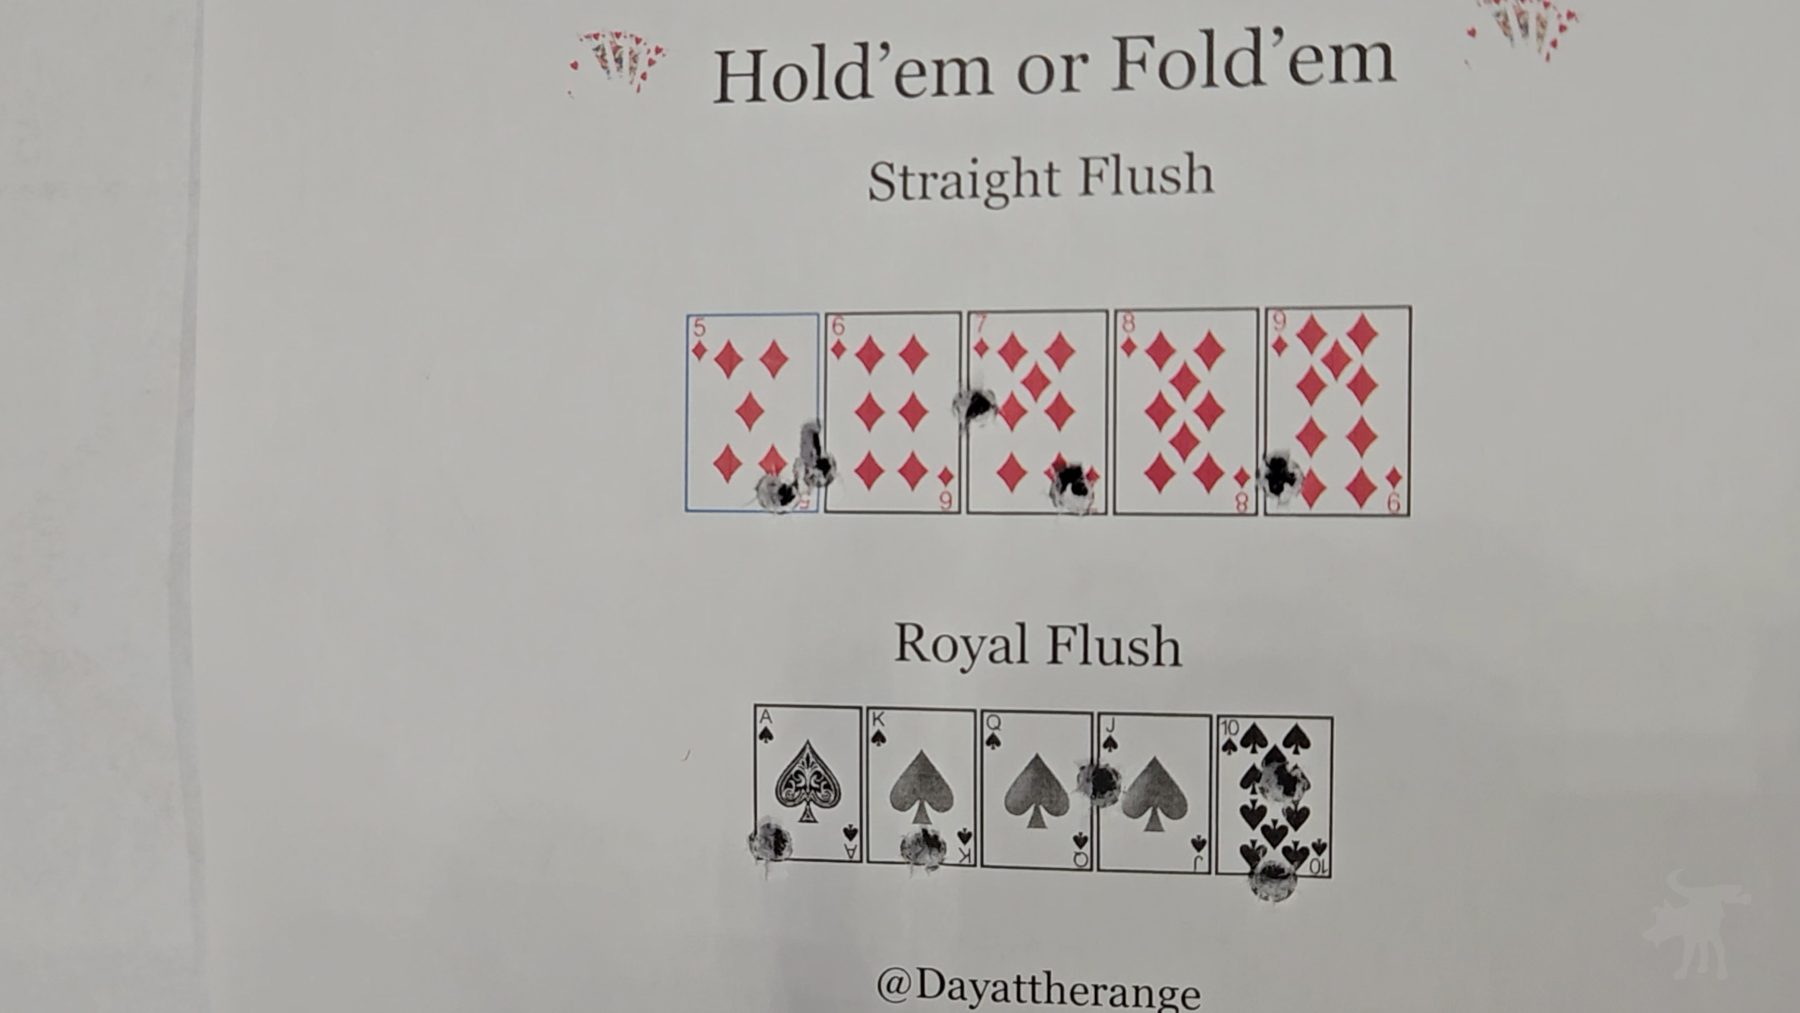
This timed challenge requires 10 shots to hit 10 targets from 50 yards with a .22. The first row is five playing-card targets for a straight flush; the second row is five smaller ones for a royal flush. You must keep every shot entirely inside its card without breaking any lines or it’s a DQ. After the first five you can hold (stop) or go for broke on the royal flush. Ties are broken by time. From 50 yards the cards are roughly 1–1.5 MOA—tiny, with edges that are hard to distinguish.
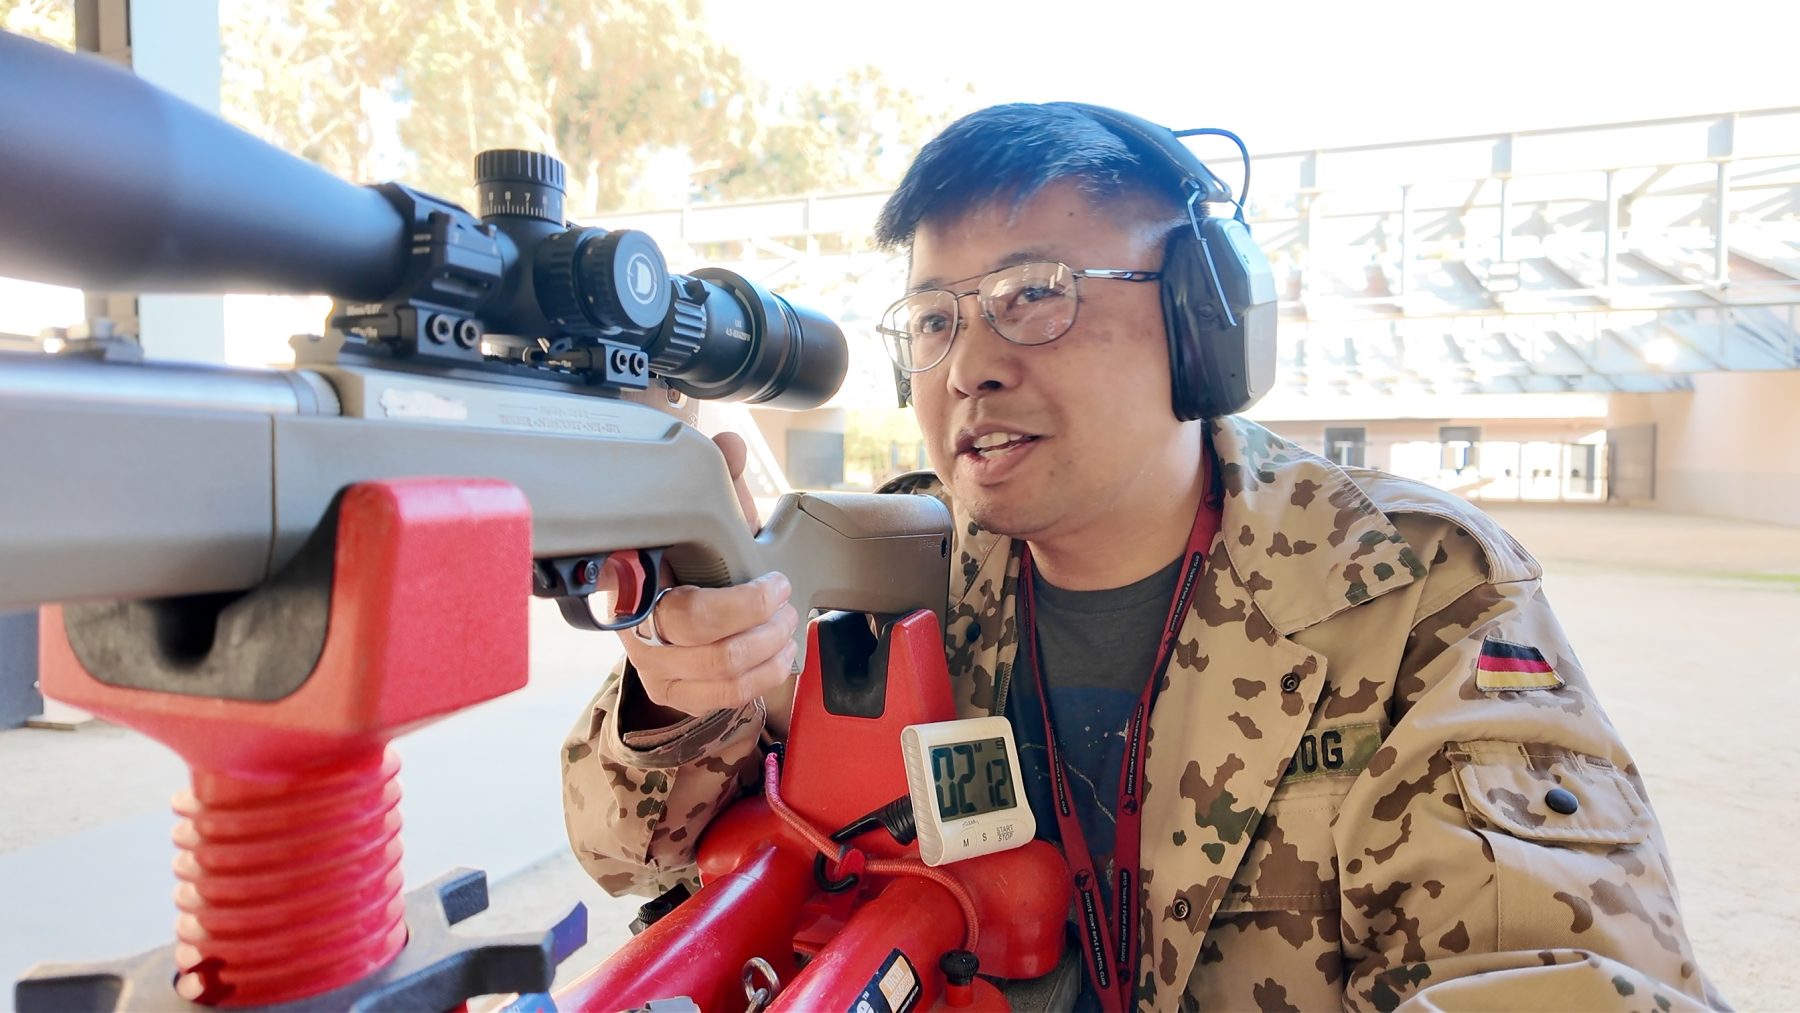
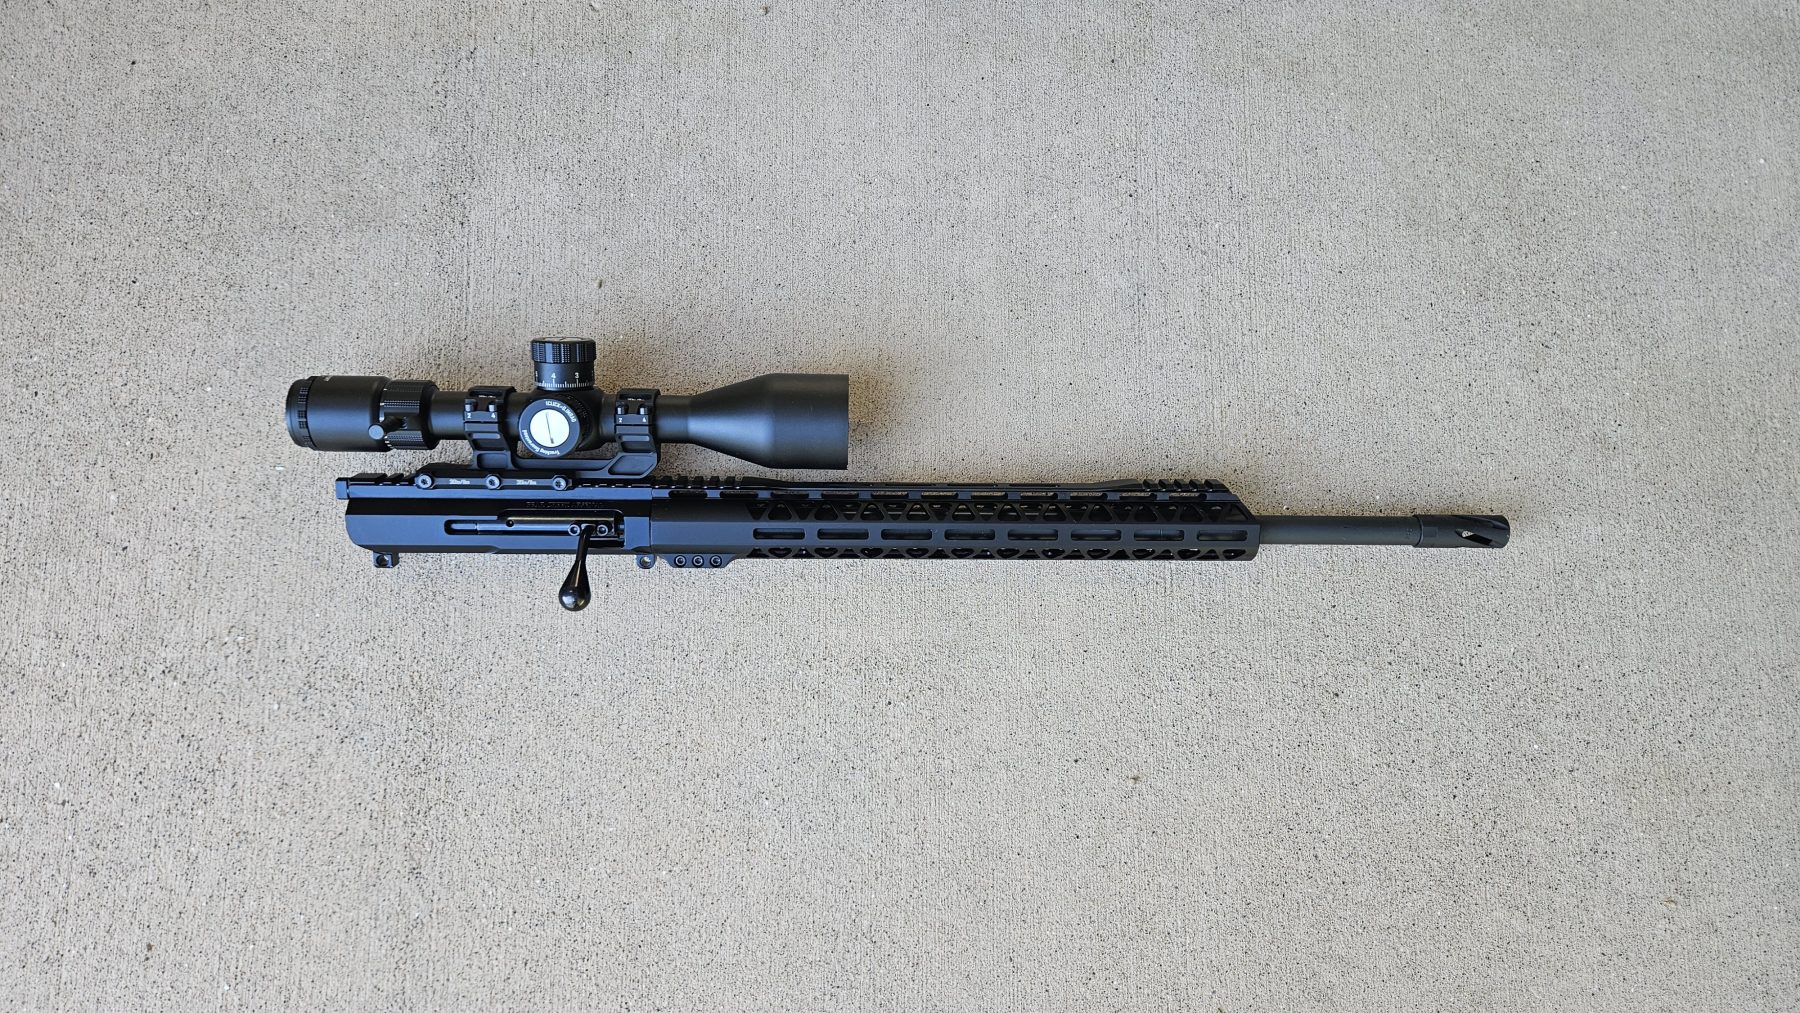
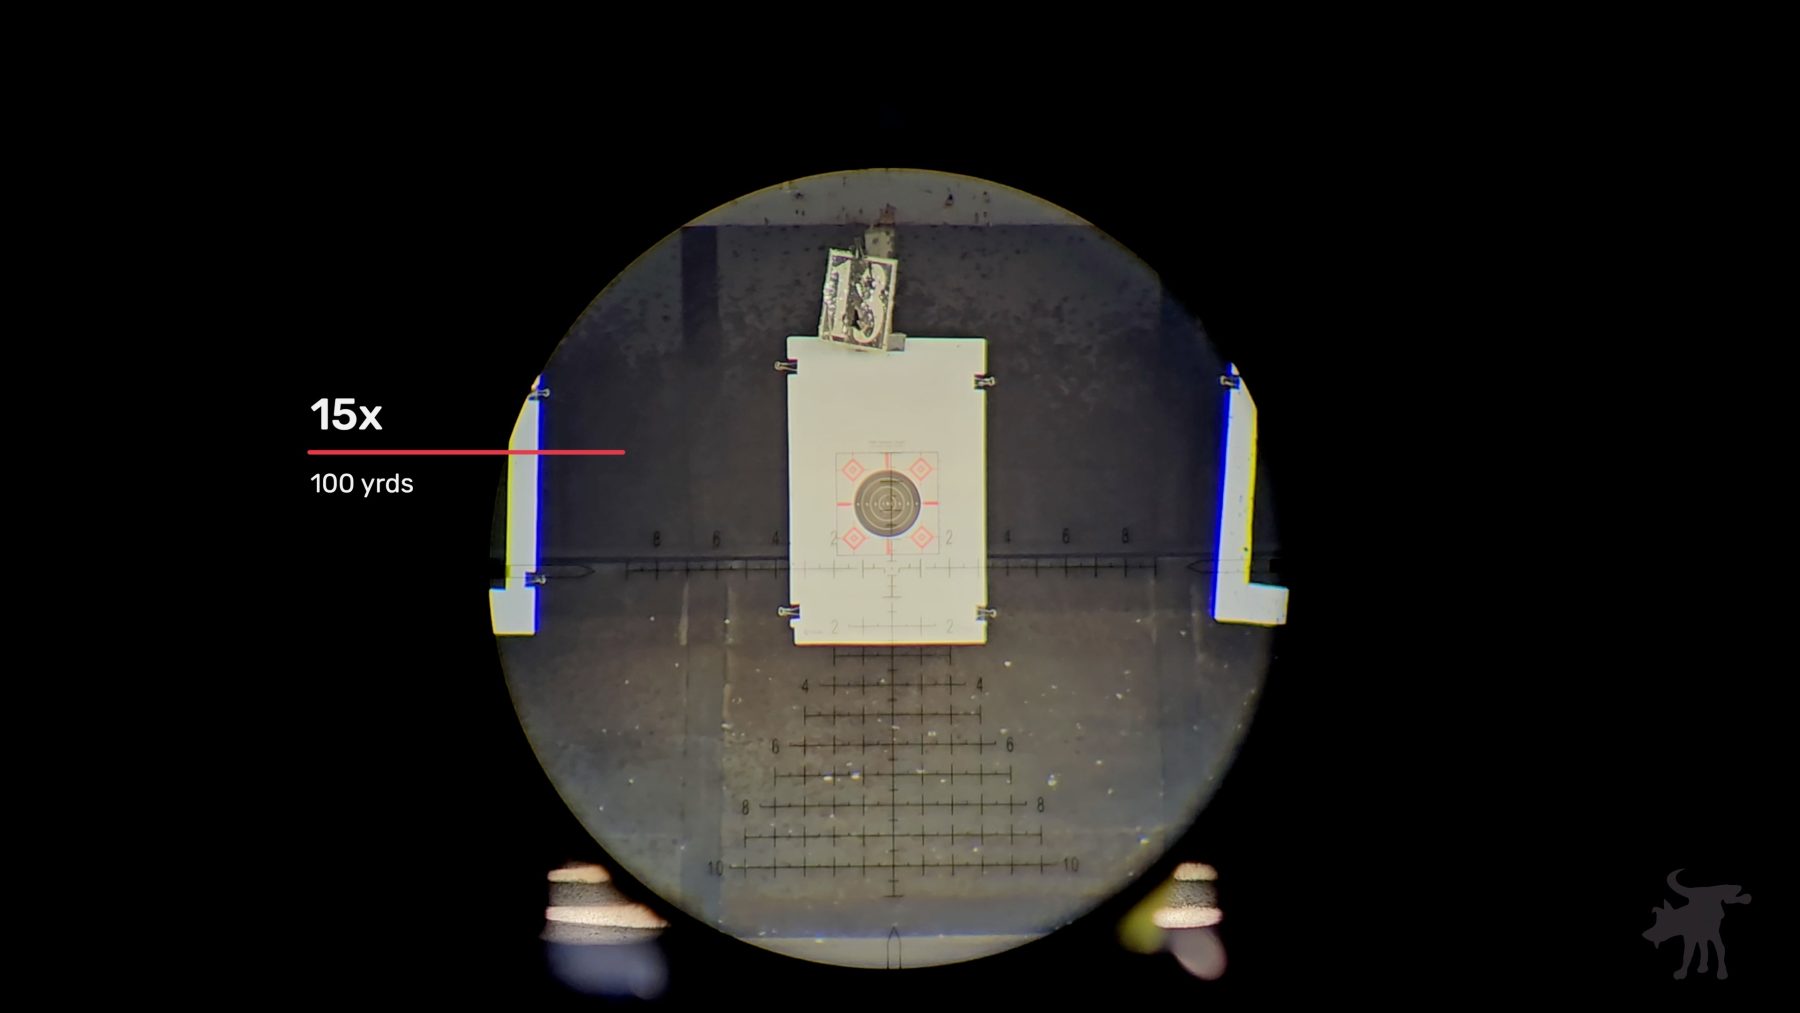
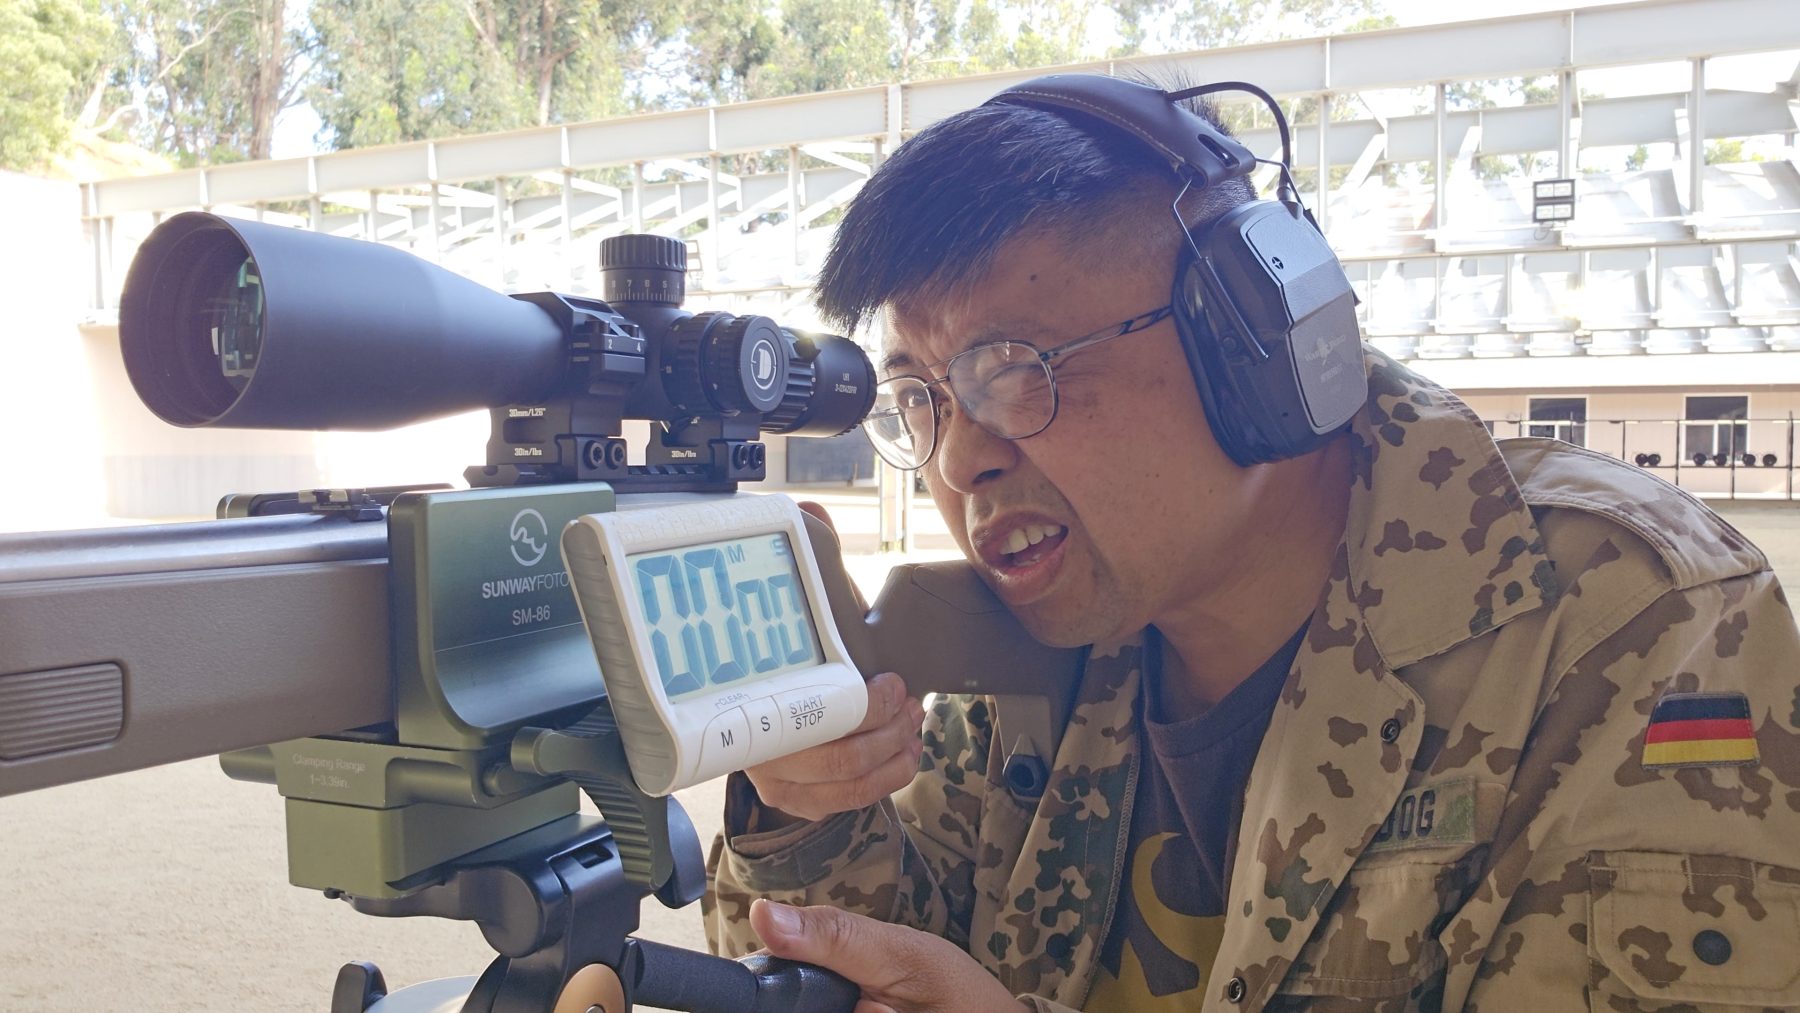
For my attempt I used a budget Bear Creek Arsenal BC-22 (dedicated .22 LR semi-auto AR upper on a BCM lower). On top sat a Discovery Optics ED-PRS Gen 2, a 5-25×56 FFP scope with Japanese ED glass. Even though it’s a long-range optic, the high magnification and clarity made the thin card lines visible enough to aim precisely (I stayed in the mid-power range rather than maxing out at 25×). I sighted in with a few spotter rounds, then ran the challenge.
I DQ’d on the first row (broke a line), but continued for fun. Time was 1:31. Looking at the target, the second (smaller) row actually went better—several clean hits inside the cards. Aim small, miss small, I guess. Not a clean run, but a fun test of both the budget upper and the high-power scope at close range.
This timed challenge, you have 10 shots to hit 10 targets from 50 yards. Each playing-card-themed target is smaller than a postage stamp on a letter-sized sheet of paper, and from 50 yards, a postage stamp looks like the head of a pin.
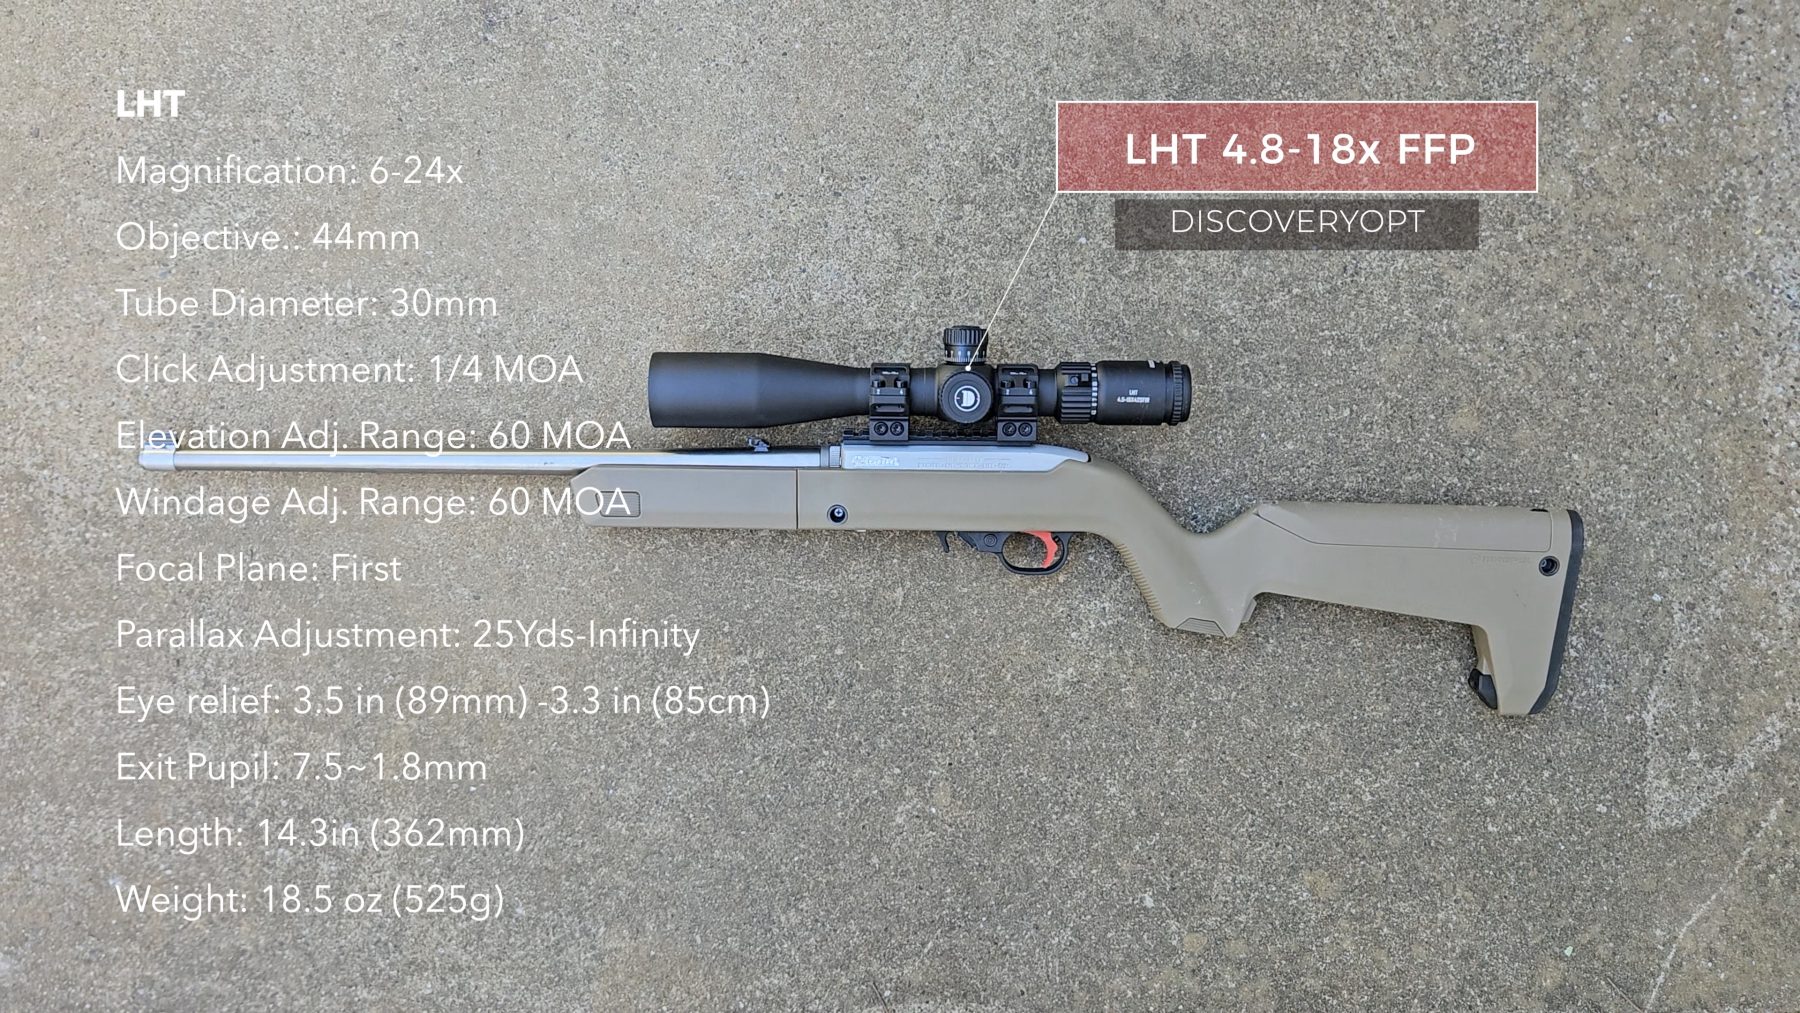
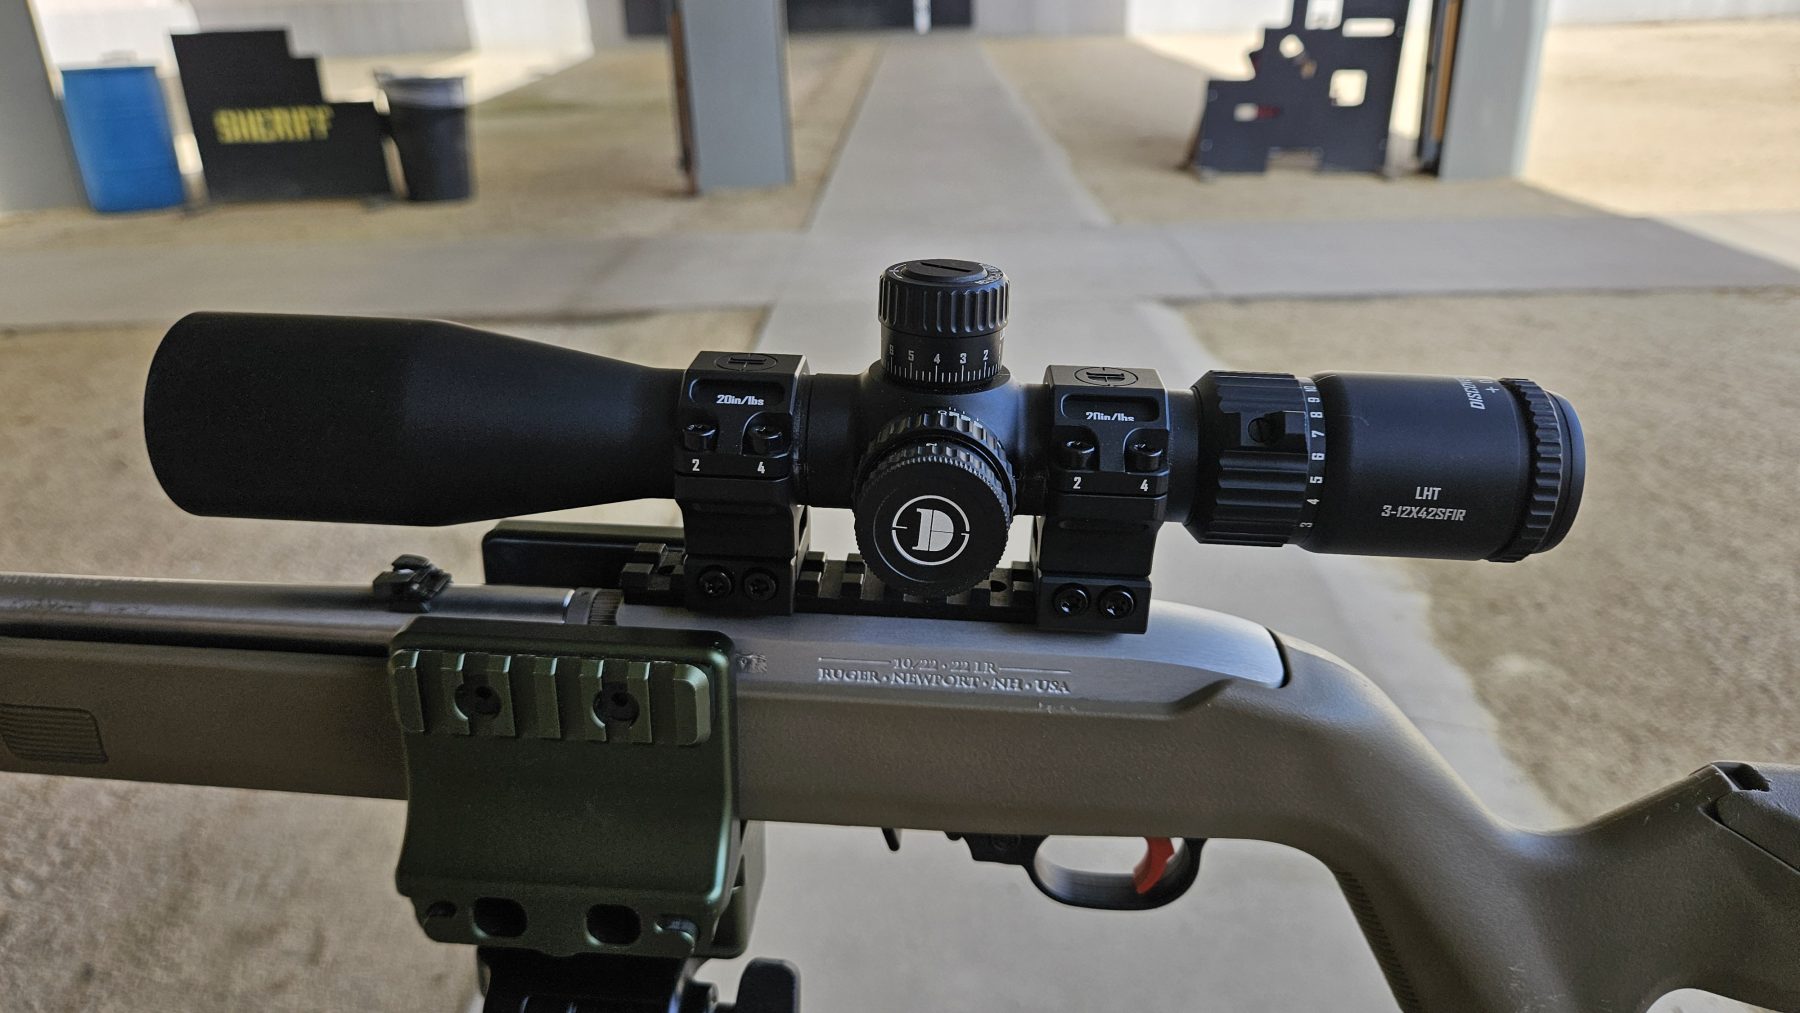
For my second attempt, I was again shooting my Ruger 10/22 takedown rifle. But I’ve upgraded my Discovery Optics LHT 3-12×24 with a new, higher-power LHT 4.5-18×42 lightweight scope.
I again ran CCI Standard Velocity. Sadly, I again DQ’d from the start. Interestingly, I did better in the smaller 2nd row than in the 1st row. The 18x scope did provide a clearer view of the tiny targets, so it’s the rifle and the ammo that are the weak points in this equation.
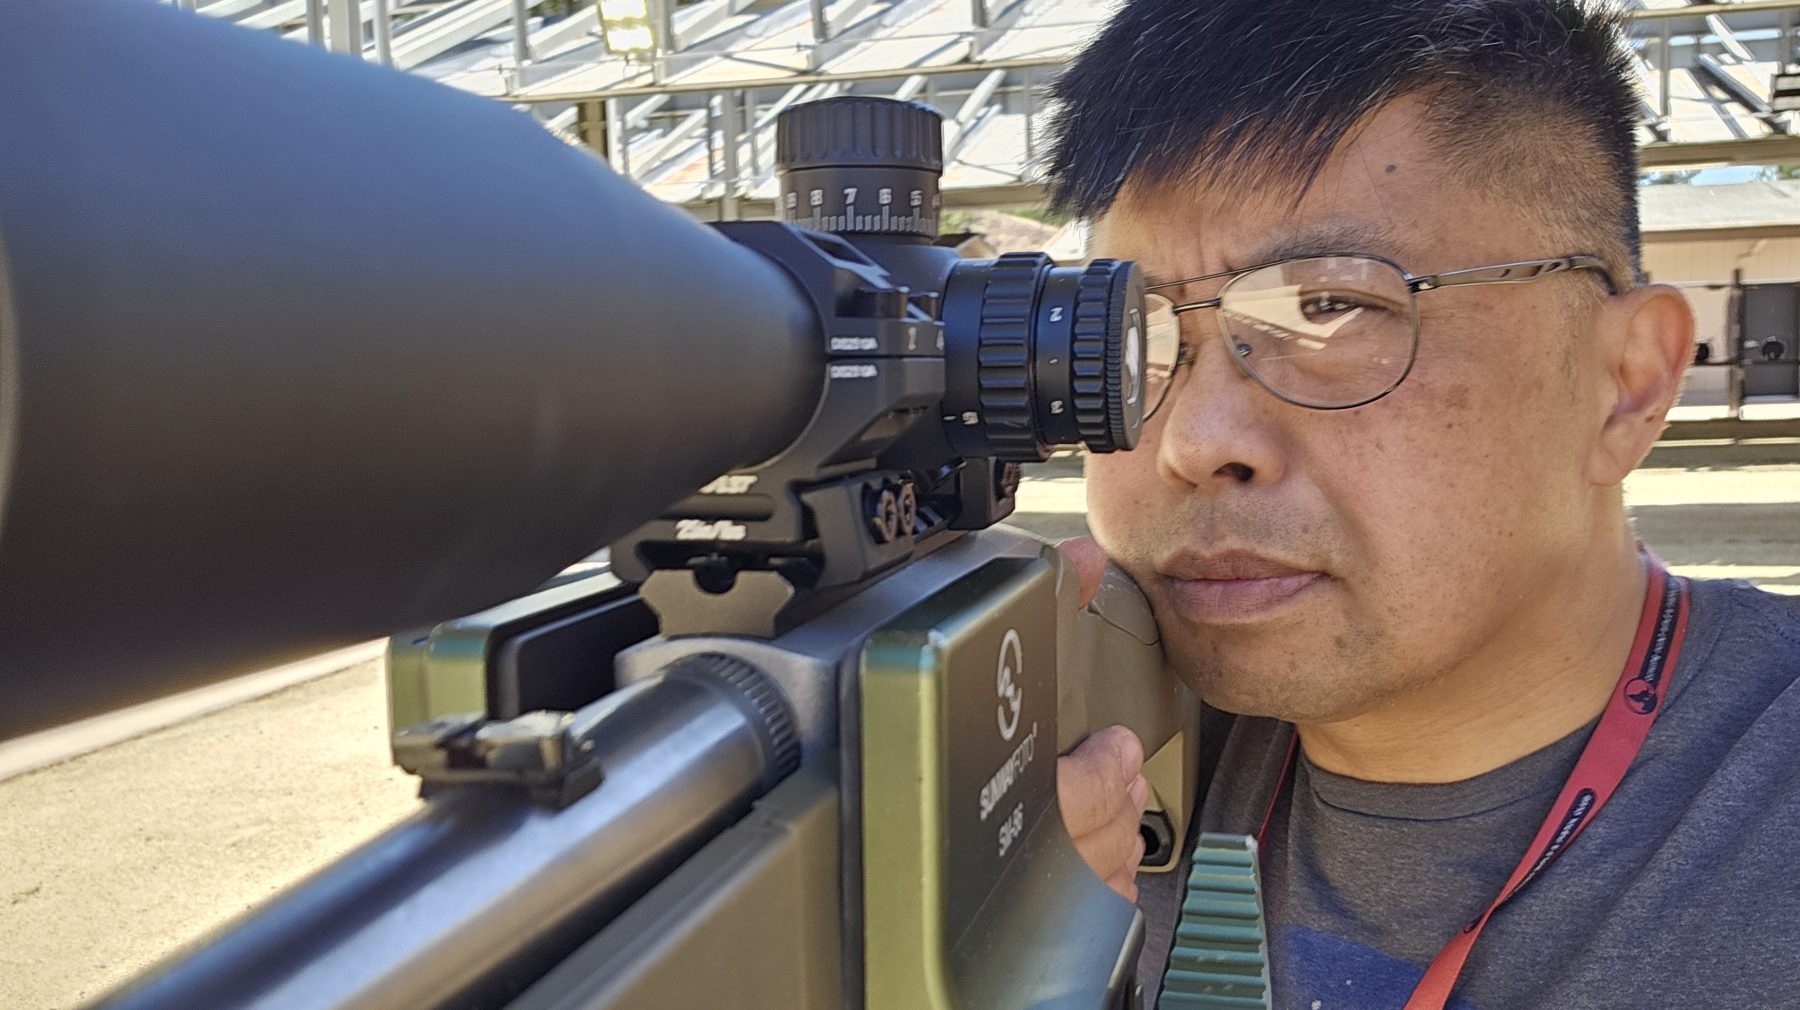
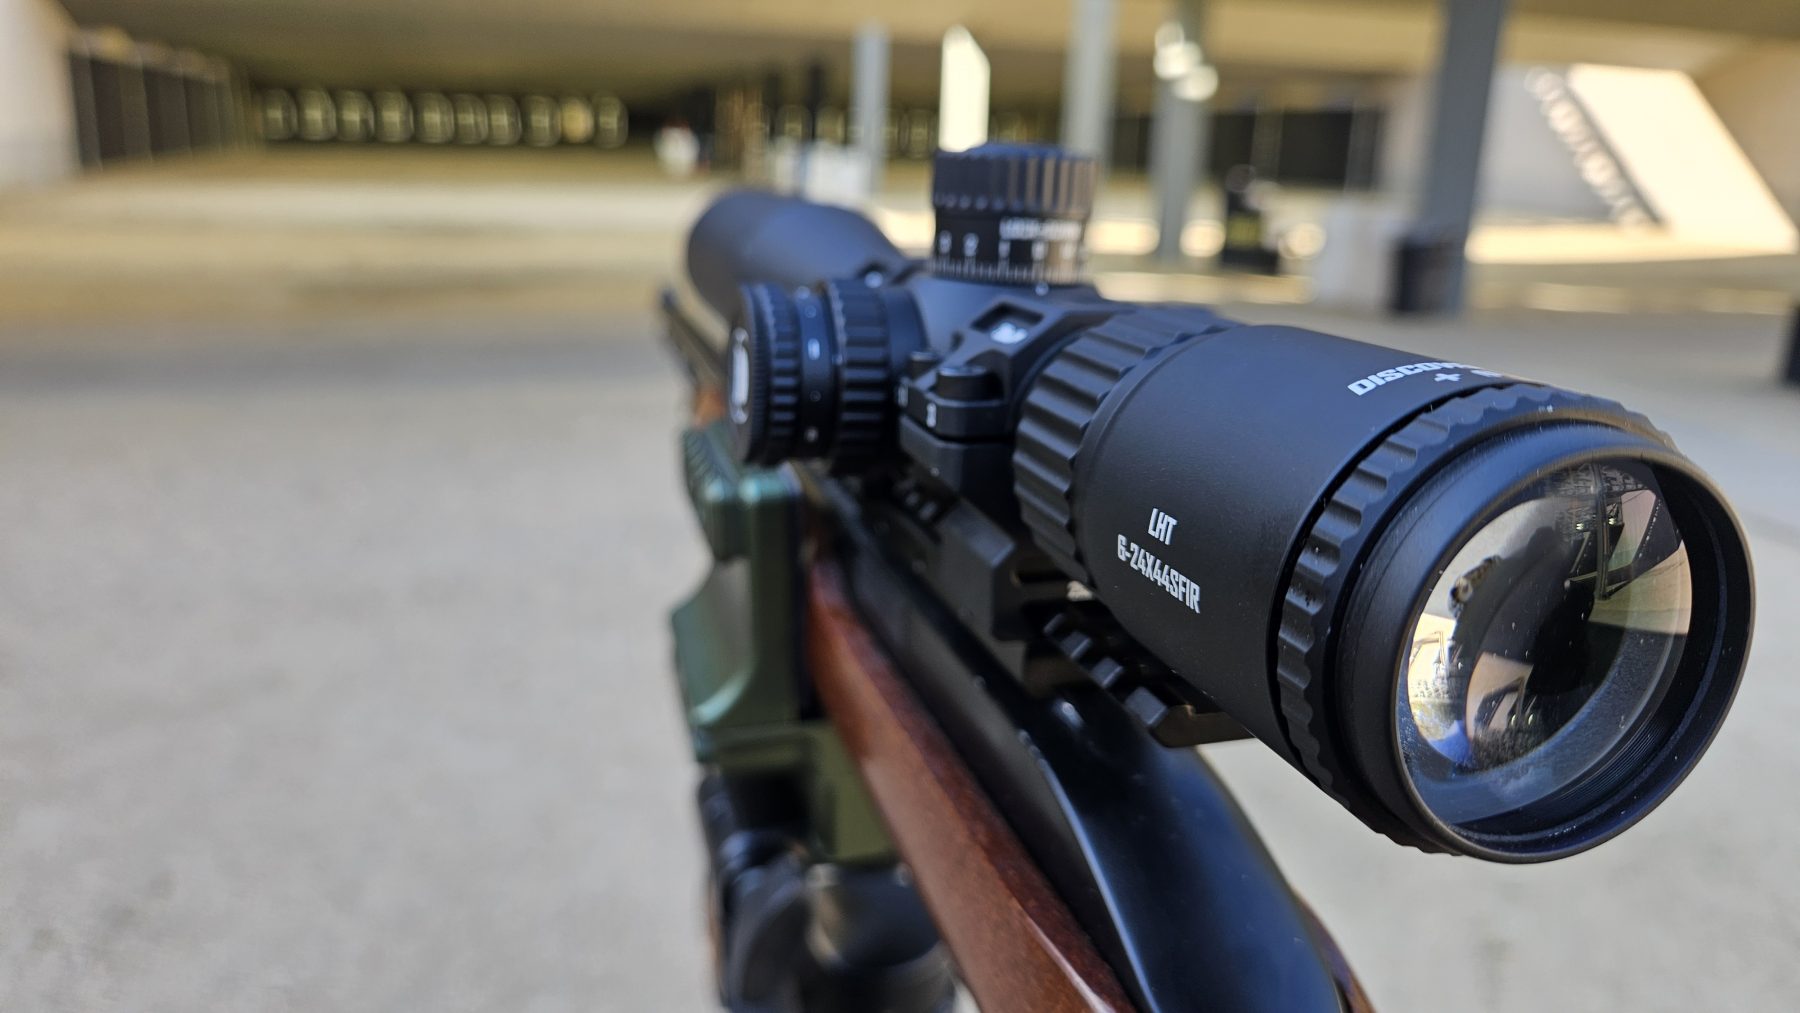
They say, you get what you pay for. In the case of the Discovery LHT, you’re also getting less because this is one of the lightest 6-24x scopes I’ve tested; it is 4 oz lighter than the Vortex Viper. The LHT has the slim profile of a traditional 3-9x hunting scope, with cross-over tactical features like a FFP reticle and exposed locking turrets.
This LHT 6-24×44 is nearly identical to the LHT 3-12×42 scope, but with a longer tube section forward of the turrets. Its glass performed like a budget optic. It has noticeable distortion and softening on the outer edges with some chromatic aberration. But its higher top end of 24x provided acceptable resolution at the center of its image to identify target rings at 100 yards.
What makes LHT scopes stand out is its value. This LHT has a street price of $150, making them a better value than Walmart-grade scopes. Its light weight and above-average performance make this a serious upgrade to modern or vintage rifles. I’m putting this on my Glenfield 60.
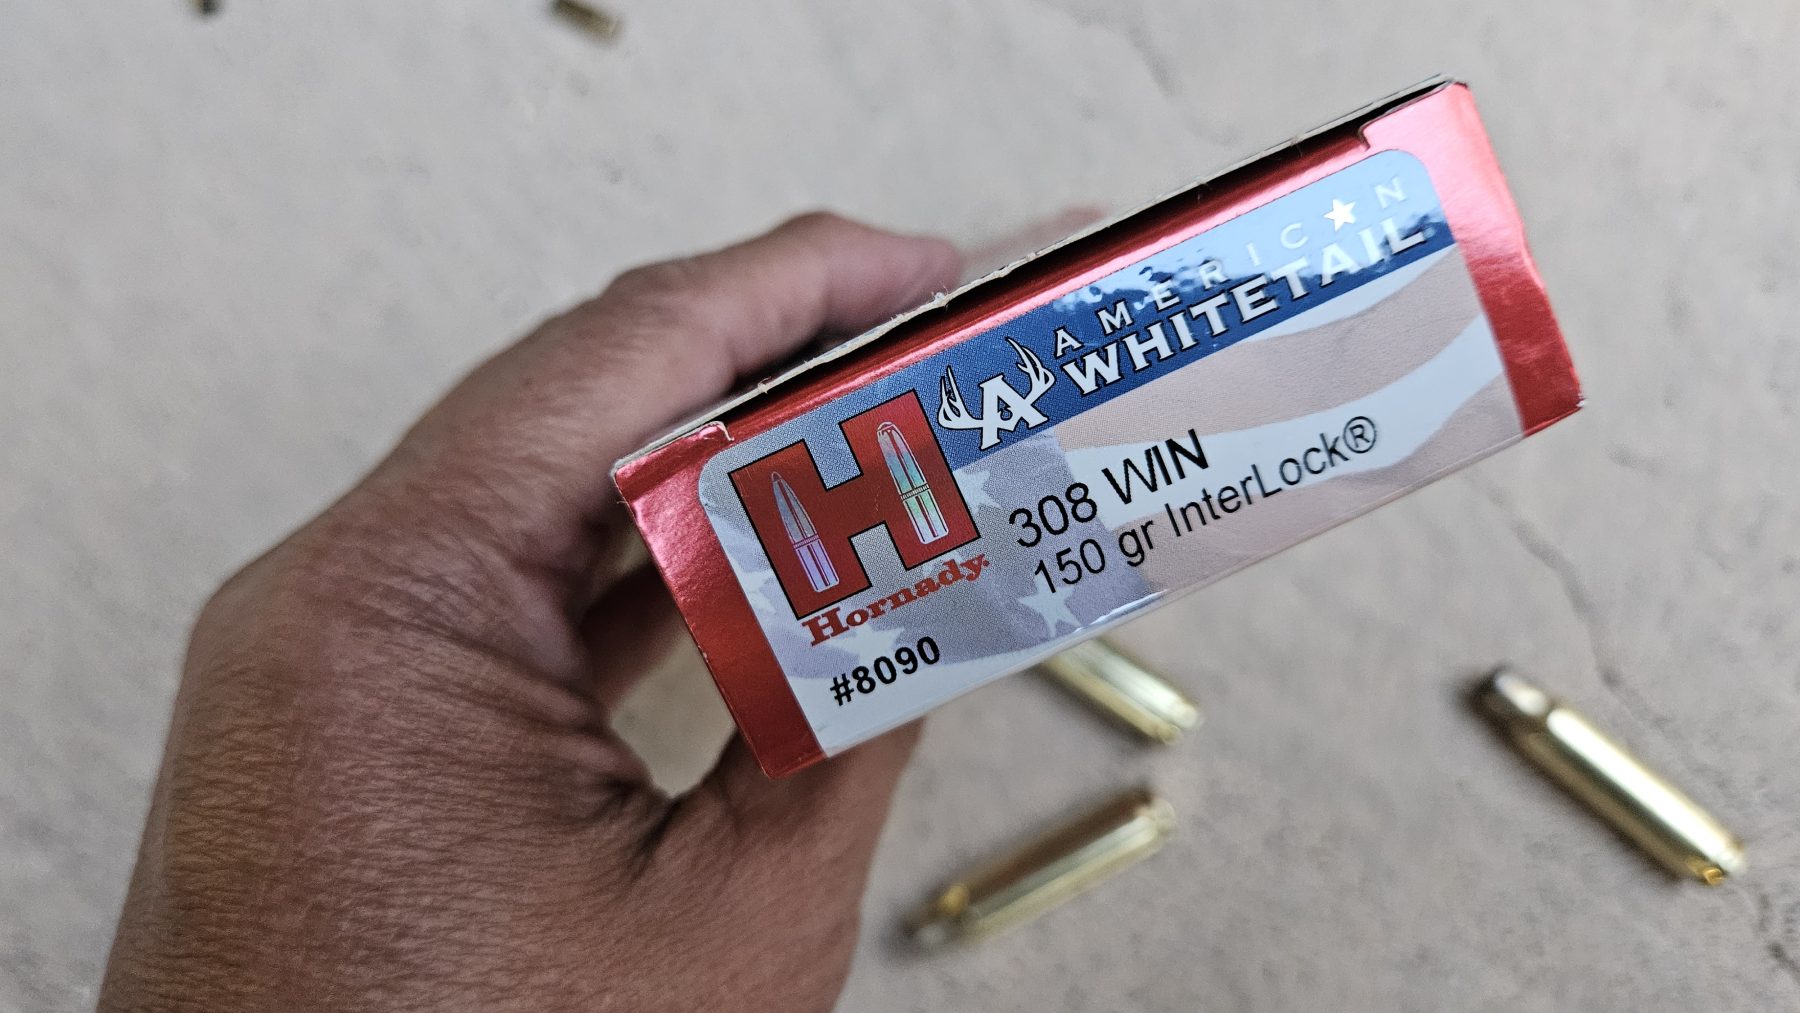
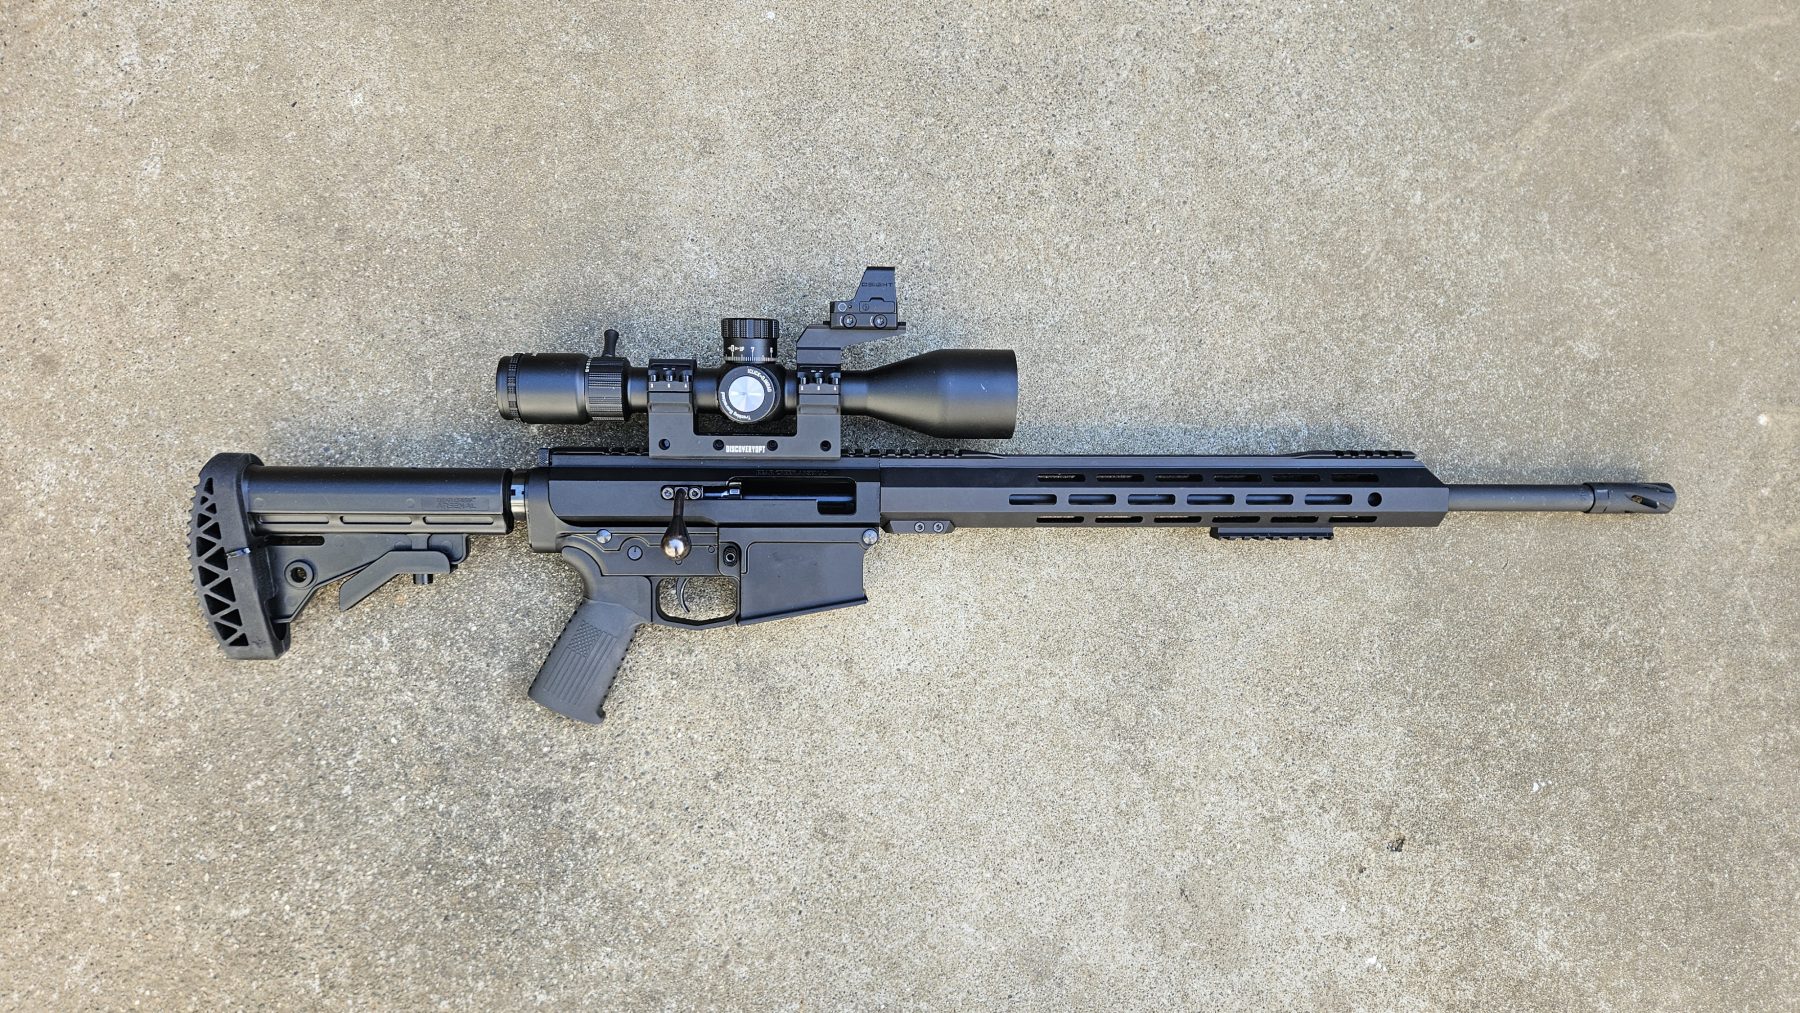
A few months ago, I tested the Bear Creek Arsenal’s BC10, a budget-priced bolt-action AR chambered in .308/7.62×51. BCA is known for making budget-priced ARs and components, but also for cutting corners on QC and construction. My experience with my BC10 was a rough action that with a bolt that would lock up and groupings on target that looked like a novice shot them.
After I published the video, I received some helpful comments from BC10 owners on how to improve the action. Some said they had to cycle the bolt a ‘couple hundred’ times before it broke in. I didn’t have that spare time or patience.
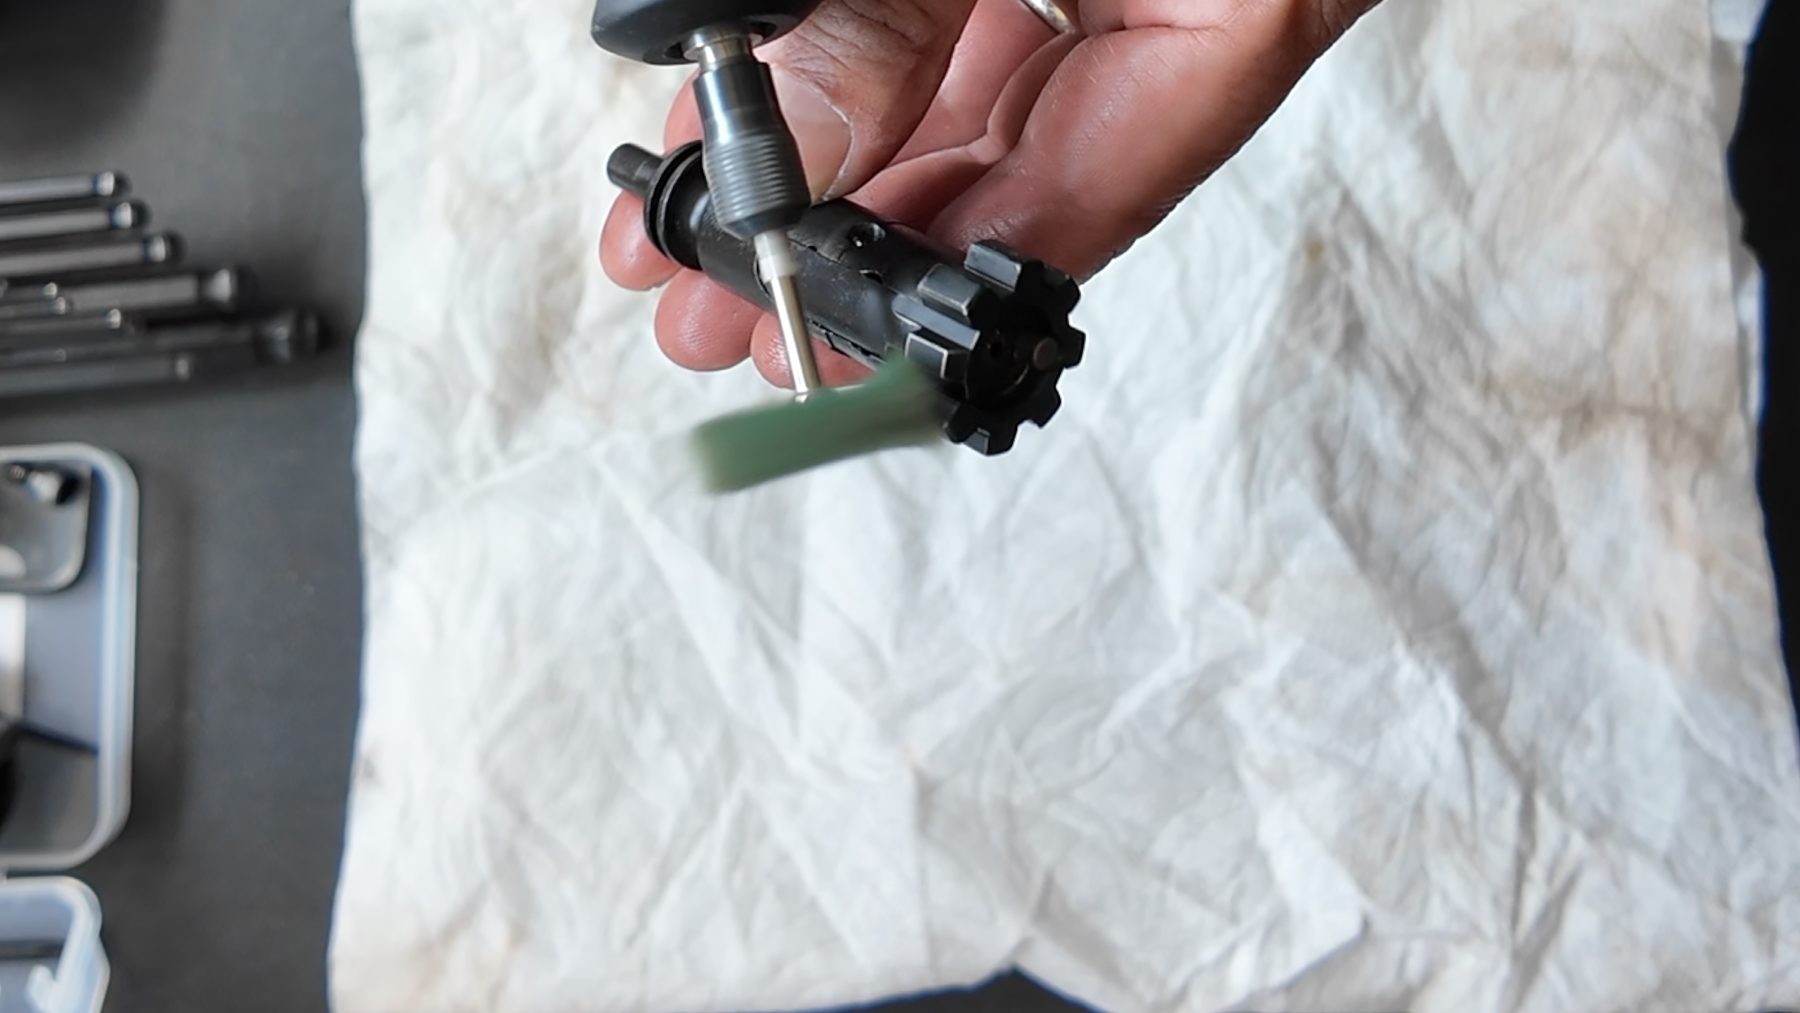
I stripped down the rifle, swabbed and cleaned the barrel, took apart the bolt, and cleaned all the moving parts with CLP. Following the same process as with the BCA BC15 I recently fixed, I carefully polished the bolt face lugs that engaged the star chamber. I was careful not to grind metal or round out the lugs. My goal was to mechanically simulate running the bolt hundreds of times, rubbing off the Parkerizing or whatever black finish BCA coats their parts with. After reassembly, the bolt no longer lock up, though the action still felt a bit rough. Next time I clean the bolt, I’ll sand smooth the guide block on the top of the bolt. But for now, I wanted to test the lug tune-up.
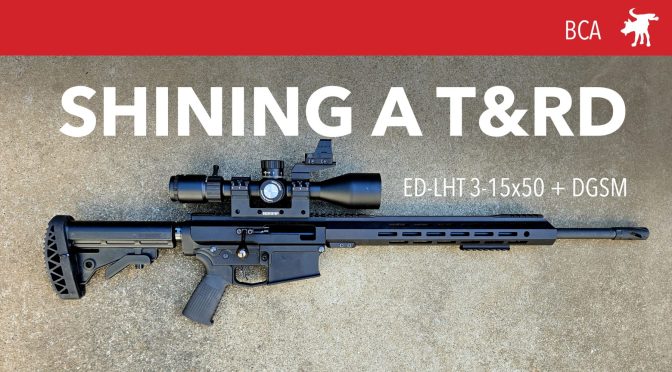
In addition to my goal of fixing the bolt’s action, I also wanted to see if this improved the BC10’s shooting performance. I wanted to make sure the optic could reliably maintain zero, so I put in one of my most reliable scopes. I installed an ED-LHT 3-15×50 with a new heavy-duty DGSM mount.
At the range, the BC15’s bolt was a significantly improved experience. The bolt cycled without locking through the first couple of cartridges failed to eject properly (possibly due to some buffing compound that might have stuck in the ejector?) It makes me wonder why BCA didn’t polish the bolt lugs, at the factory, this would add perhaps 5 minutes of work on their part. A pittance that most users would have gladly paid an extra $25 in retail price. It seems short-sighted on BCA to leave it to users to fix their headache, which only reinforces negative feedback on their products.
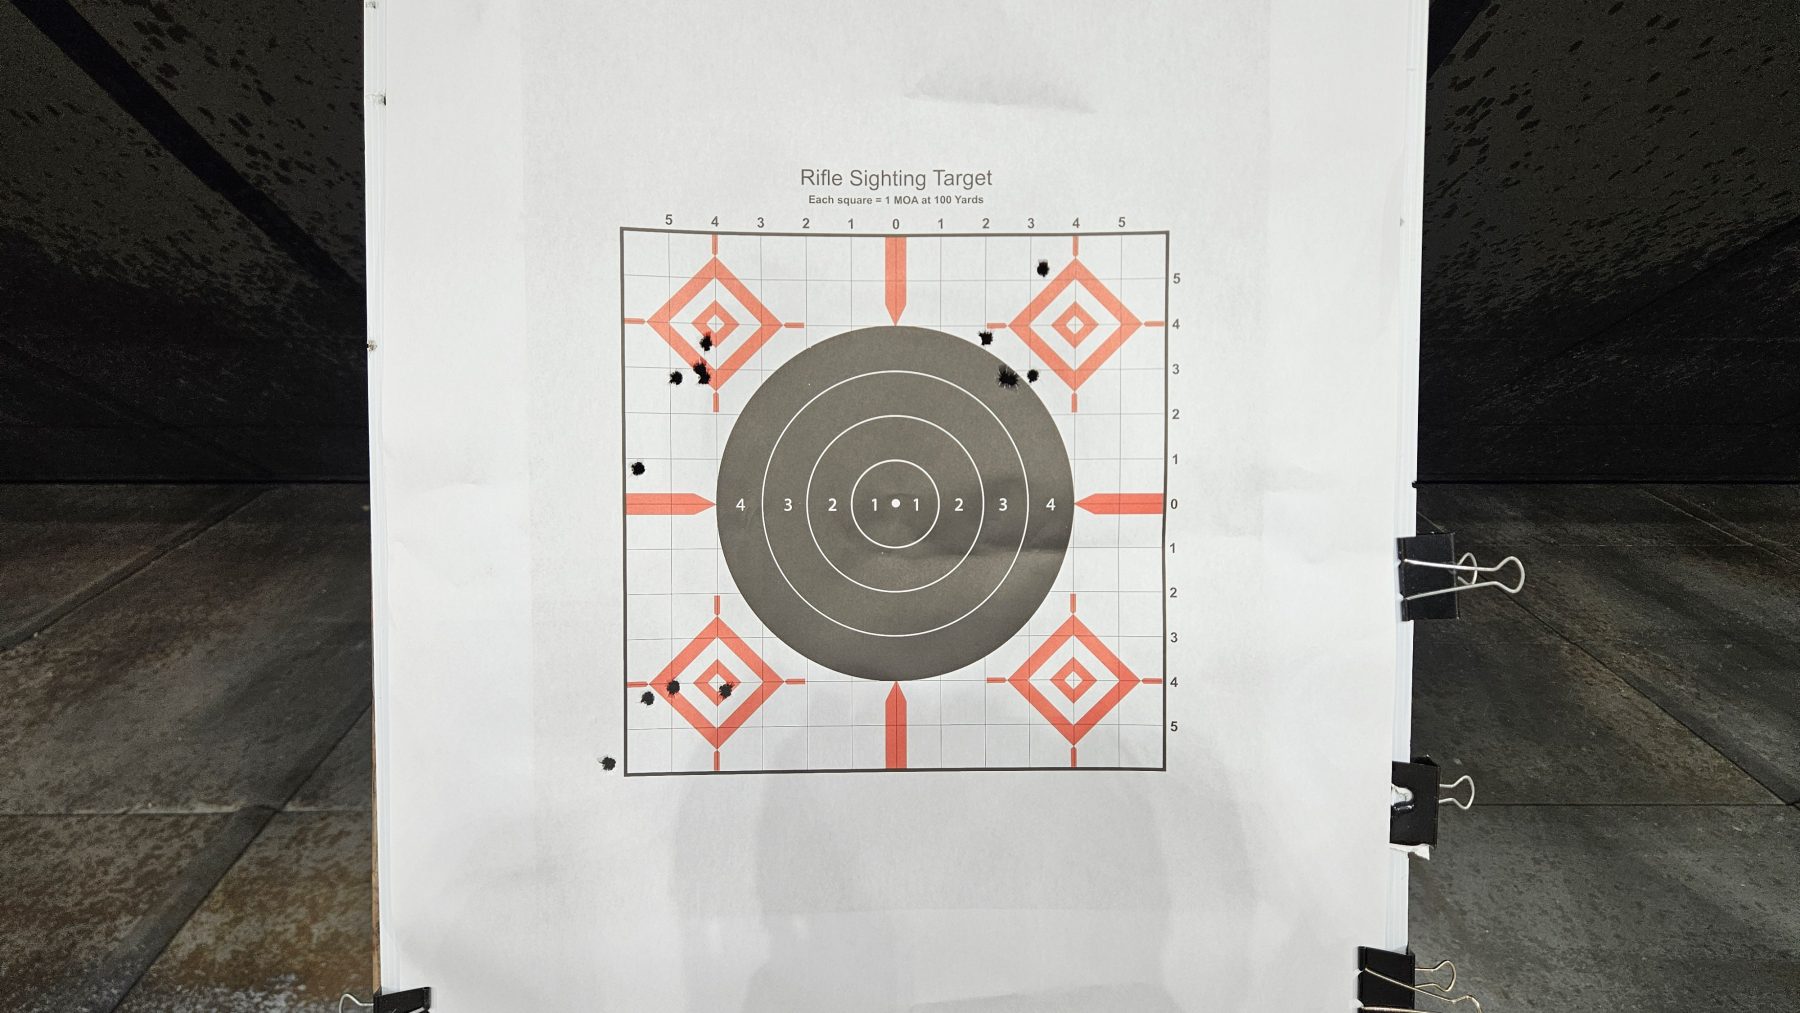
Sadly, while my fix helped the action of the bolt, it did nothing for how the rifle shot. My groups were just as bad as my first test (and that rifle was straight out of the box with all of the packing grease!) I would get at least one random flyer in each 5-shot group, and the group themselves were over 3 MOA. This .308 bolt-action AR was grouping more like Mil-Spec 5.56 AR at 100 yards.
The main benefit of the BC10 is its price. Unfortunately, my Savage Axis bolt-action rifle outshoots my AR10 and was even cheaper.
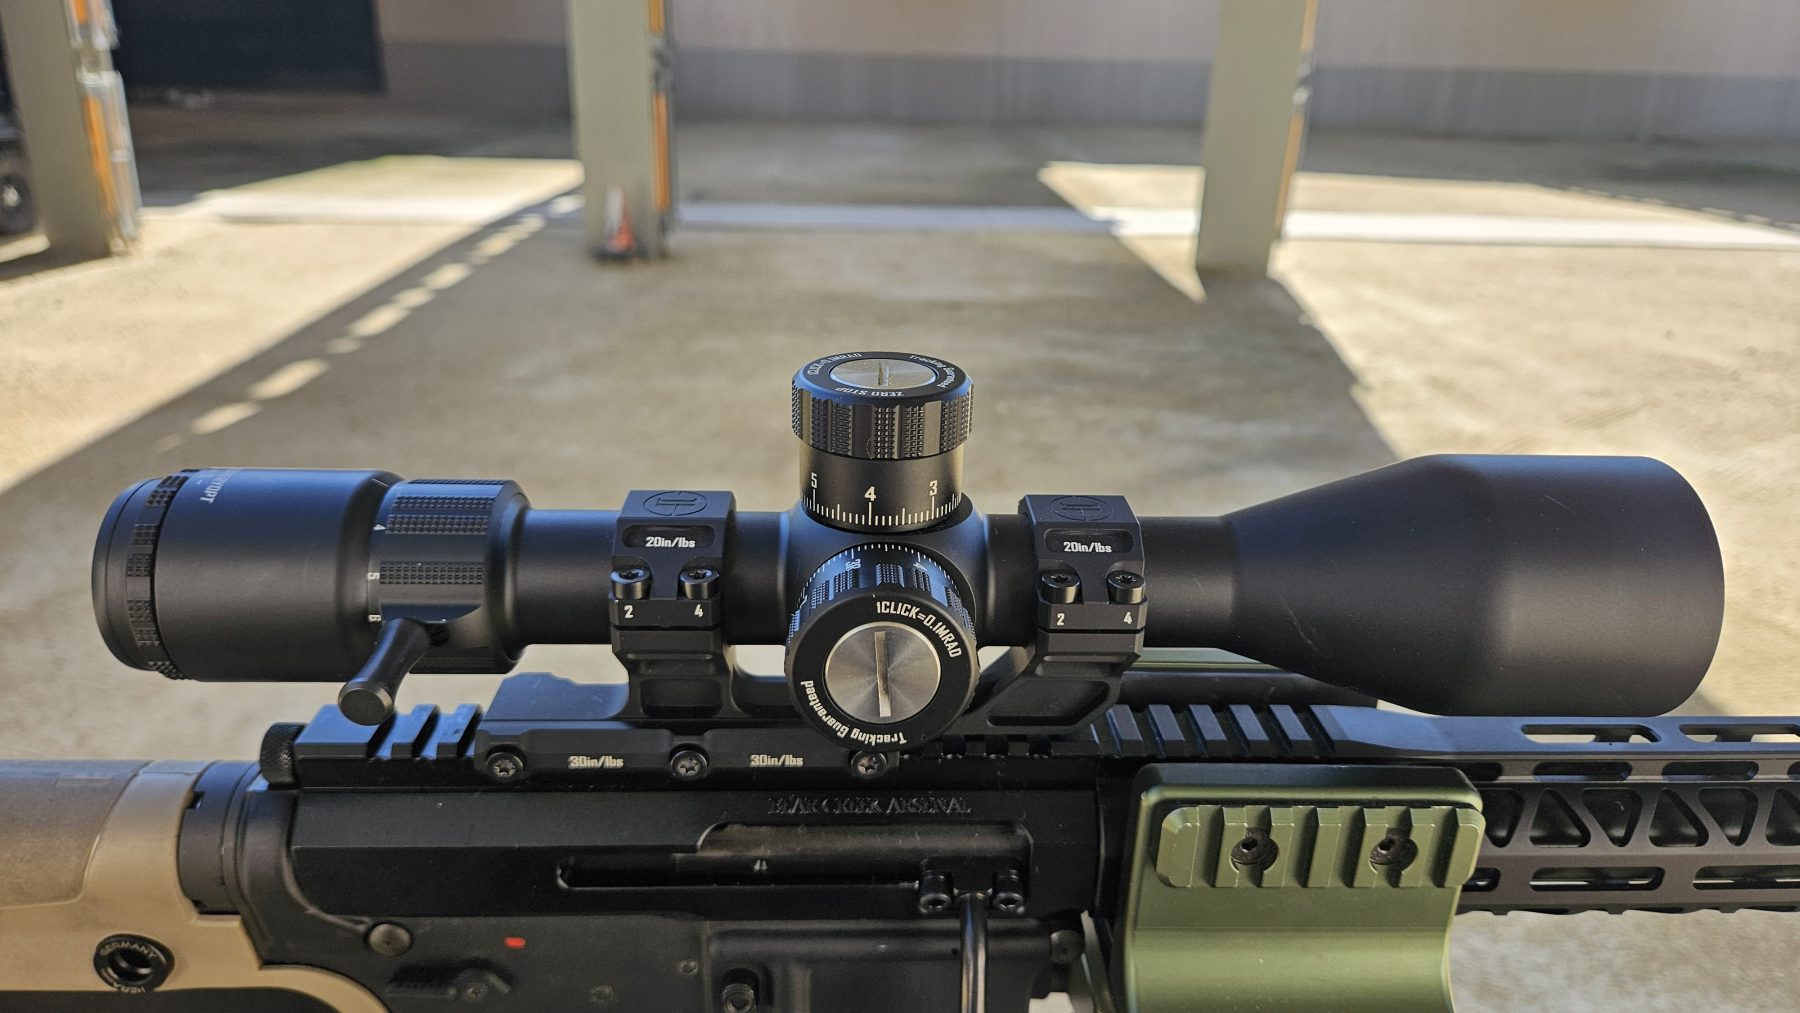
The DGSM Heavy Duty Mount is truly a heavy-duty scope mount milled from a solid block of 6061 aluminum. The tops of the rings are milled along with the lower rail, which means all of the pieces are precisely aligned and fitting. 2 recoil lugs and 4 oversized 30in/lb Torq screws will secure the entire mount and scope solidly to a heavy recoil rifle.
Furthermore, the mount comes with an all-metal diving board which can be screwed onto either ring top. This allows the addition of backup red dots or laser ranging units with its 6-slot Picatinny rail.
With a street price under $75, this mount is one of the most affordable long-range precision scope mounts with all of these features.
I tested Bear Creek Arsenal’s BC15 bolt action AR upper and it was far from a stellar experience. BCA is known for making budget-priced ARs and components, but they also have a reputation for budget-quality construction. Out of the box, the BC15 had a rough action, as you can see in my review video.
I received some helpful comments from BC15 owners to improve the action. I stripped down the bolt and thoroughly cleaned and lightly lubed it with CLP. Reassembling, I still found that the lugs would catch and the bolt would not release reliably. I disassembled the bolt again, this time I put a buffing wheel on a Dremmel and carefully polished the lugs until I could start to see shining metal. I was careful not to grind and round out the lugs. My goal was to mechanically simulate running the bolt hundreds of times, breaking it in. After reassembly, the bolt finally ran clean and smooth.
I mated the BC15 to my Anderson lower with a CA-compliant Hera CQR stock, the same lower I used to originally test the BC15. I swapped out a Discovery Optics ED-PRS 5-25×56 for a ED-LHT 3-15×50; a smaller and lighter scope that has the same clear Japanese ED glass. I also used a Discovery Optics Lightweight cantelever mount for a better eye relief.
At the range, the experience with the BC15’s bolt was night and day compared to my original video. The bolt ran smoothly as a bolt action should run out of the box. It makes me wonder why BCA didn’t polish the bolt lugs, as I did before assembling the BC15? At the factory, this would add perhaps 5-10 minutes of work. But BCA could increase the price of the already dirt-cheap BC15 by a modest $50, which is far less than they probably pay a workshop employee per hour. Just a thought.
The ED-LHT was also a better scope for my budget AR build. It is smaller and lighter than the ED-PRS while giving me more than enough magnification and clarity to see my 4″ target diamonds at 100 yards. Though neither cleaning the bore nor adding the ED-LHT improved my 2″ group, this is still tighter than any group I’ve shot with my normal semi-auto AR.
My YouTube friends @Dayattherange and @Hazzbro1964 created a deceptively tricky .22 rimfire challenge target called Hold Em or Fold Em. https://dayattherange.com/holdem-or-foldem/5/
This timed challenge, you have 10 shots to hit 10 targets from 50 yards. Each playing-card-themed target is smaller than a postage stamp on a letter-sized sheet of paper. From 50 yards, a postage card looks like the head of a pin.
For my attempt, I was shooting a factory Ruger 10/22 takedown rifle. This can be the least accurate model of the 10/22 because the optics rail is not directly connected to the barrel. I mounted a Discovery Optics LHT 3-12×24 light-weight budget FFP scope. But even at 12x, the individual target squares were tiny, and their edges were barely perceptible.
I ran CCI Standard Velocity rounds, which this rifle shoots well, but it’s not match-grade ammo. I DQ’d almost from the start. I only managed 3 clean hits out of 10. This result will probably place me in the TRAIN WRECK division of this match.
I hope to try this again, but next time I’ll be shooting from a folding table or from the ground, prone.
At SHOT Show 2026, Discovery Optics showed off the prototype of an innovative internal electronic angle level in their ED and XED scope line. This electronic feature displays a green dot on either the left or rght side of your view indicating if your scope is not level. Canting (tilting) a scope can cause your point of impact to shift due to the position of your scope above your barrel.
Long-range shooters have relied on externally mounted spirit bubble levels. This internal electronic level allows the shooter see when their scope has lost level without breaking their shooting position or cheek weld to look at an external level indicator.
This new internal level feature will come standard in all of their ED and XED scopes, which will dramatically differentiate their scopes from other long-range optics.
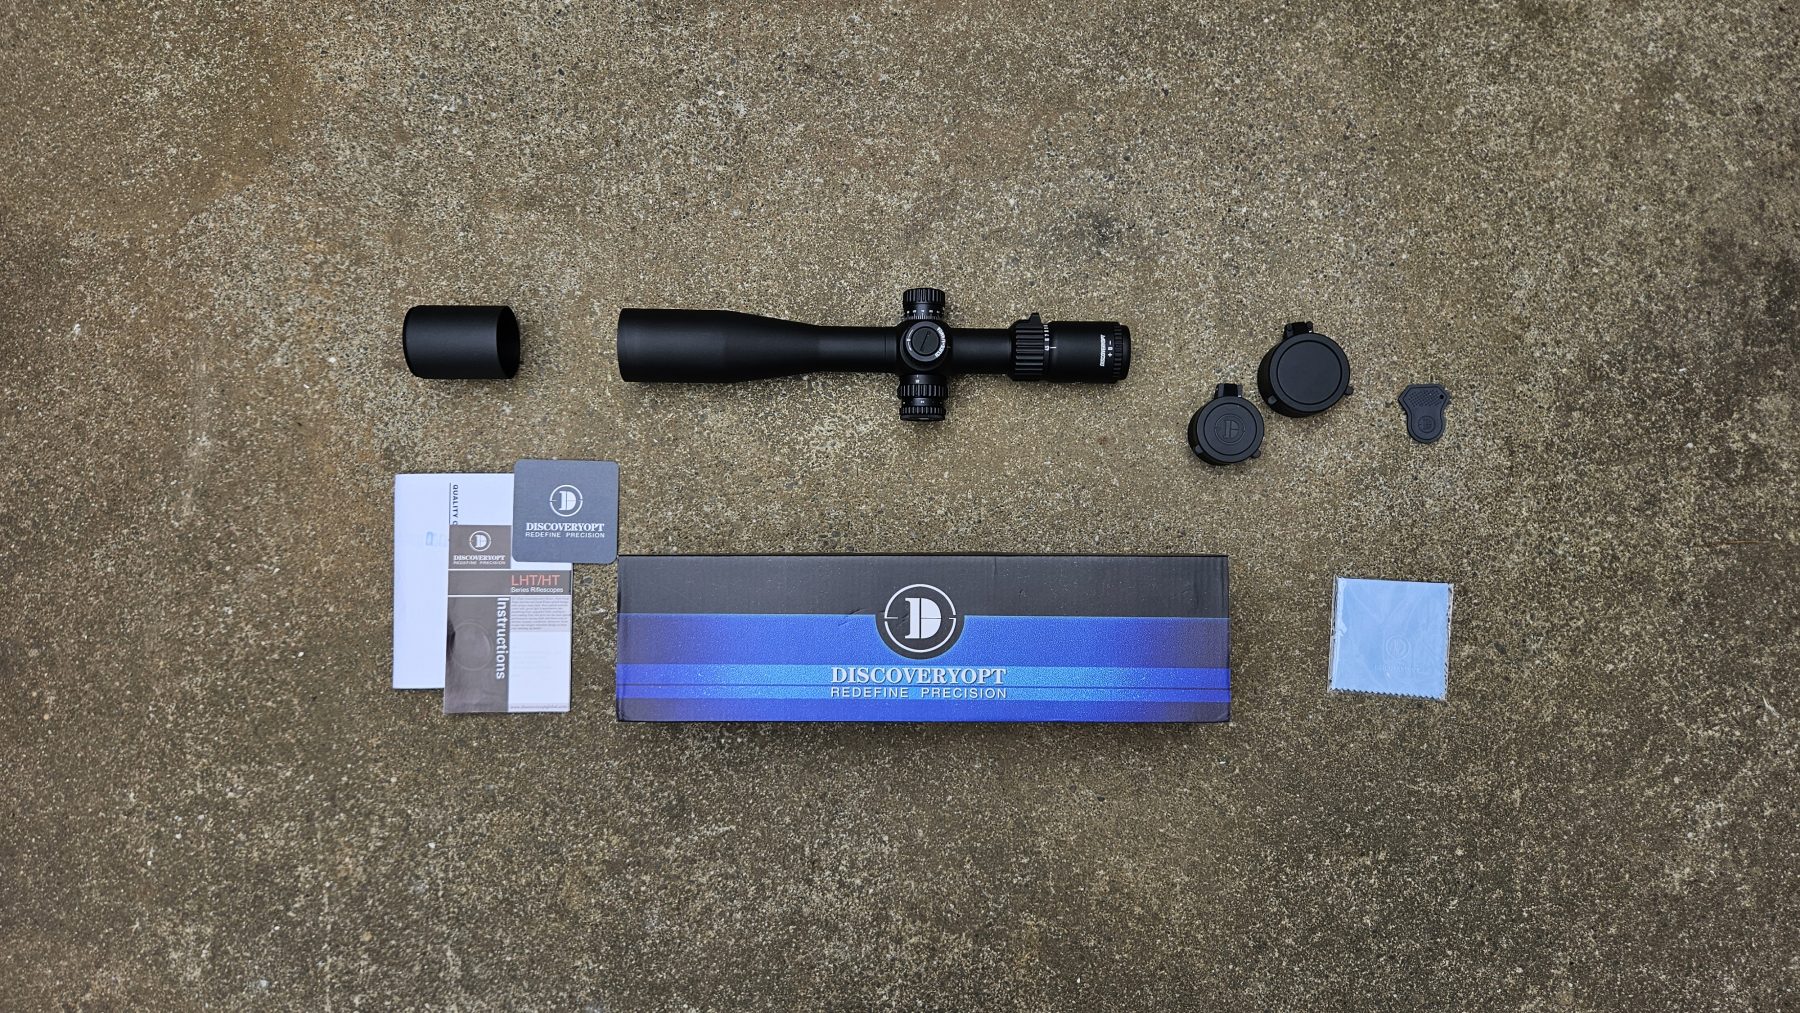
The LHT 3-12×42 is Discovery Optics’ most affordable crossover scope. This scope has the lightweight, slim profile of a traditional 3-9x hunting scope, with an FFP tactical reticle for precision target shooting. In addition, it features exposed locking turrets and an illuminated reticle.
The LHT’s turrets had some wiggle between each 1/4 MOA click, but the clicks were audible and tactile positive. Its parallax focus can target as close as 7 yards, making it an ideal optic for airgun or rimfire hunters. Its illuminated reticle is twilight bright with highlighted dots at key points.
Optically, it had a good eyebox but was not tack sharp from the center to the outer edge, which showed distortion and softening. Its clarity and brightness dropped off significantly above 10x. The glass also showed some CA at high magnifications. While optically average, the LHT’s features make it a better value than most 3-9x scopes below $150.