Category Archives: Gadgets

MNN Budget LCD Monitor

The 2016 Macbook Pro had a fatal flaw in its hinge design. Over time and with use, the monitor wiring passing through the hinge would frey and cause the monitor to turn off when the monitor face is raised into normal operating position. Recently my wife’s 2016 began experiencing the “Dead Screen” problem which progressed to the point that she could only open the hinge about 4 inches before it would deactivate.

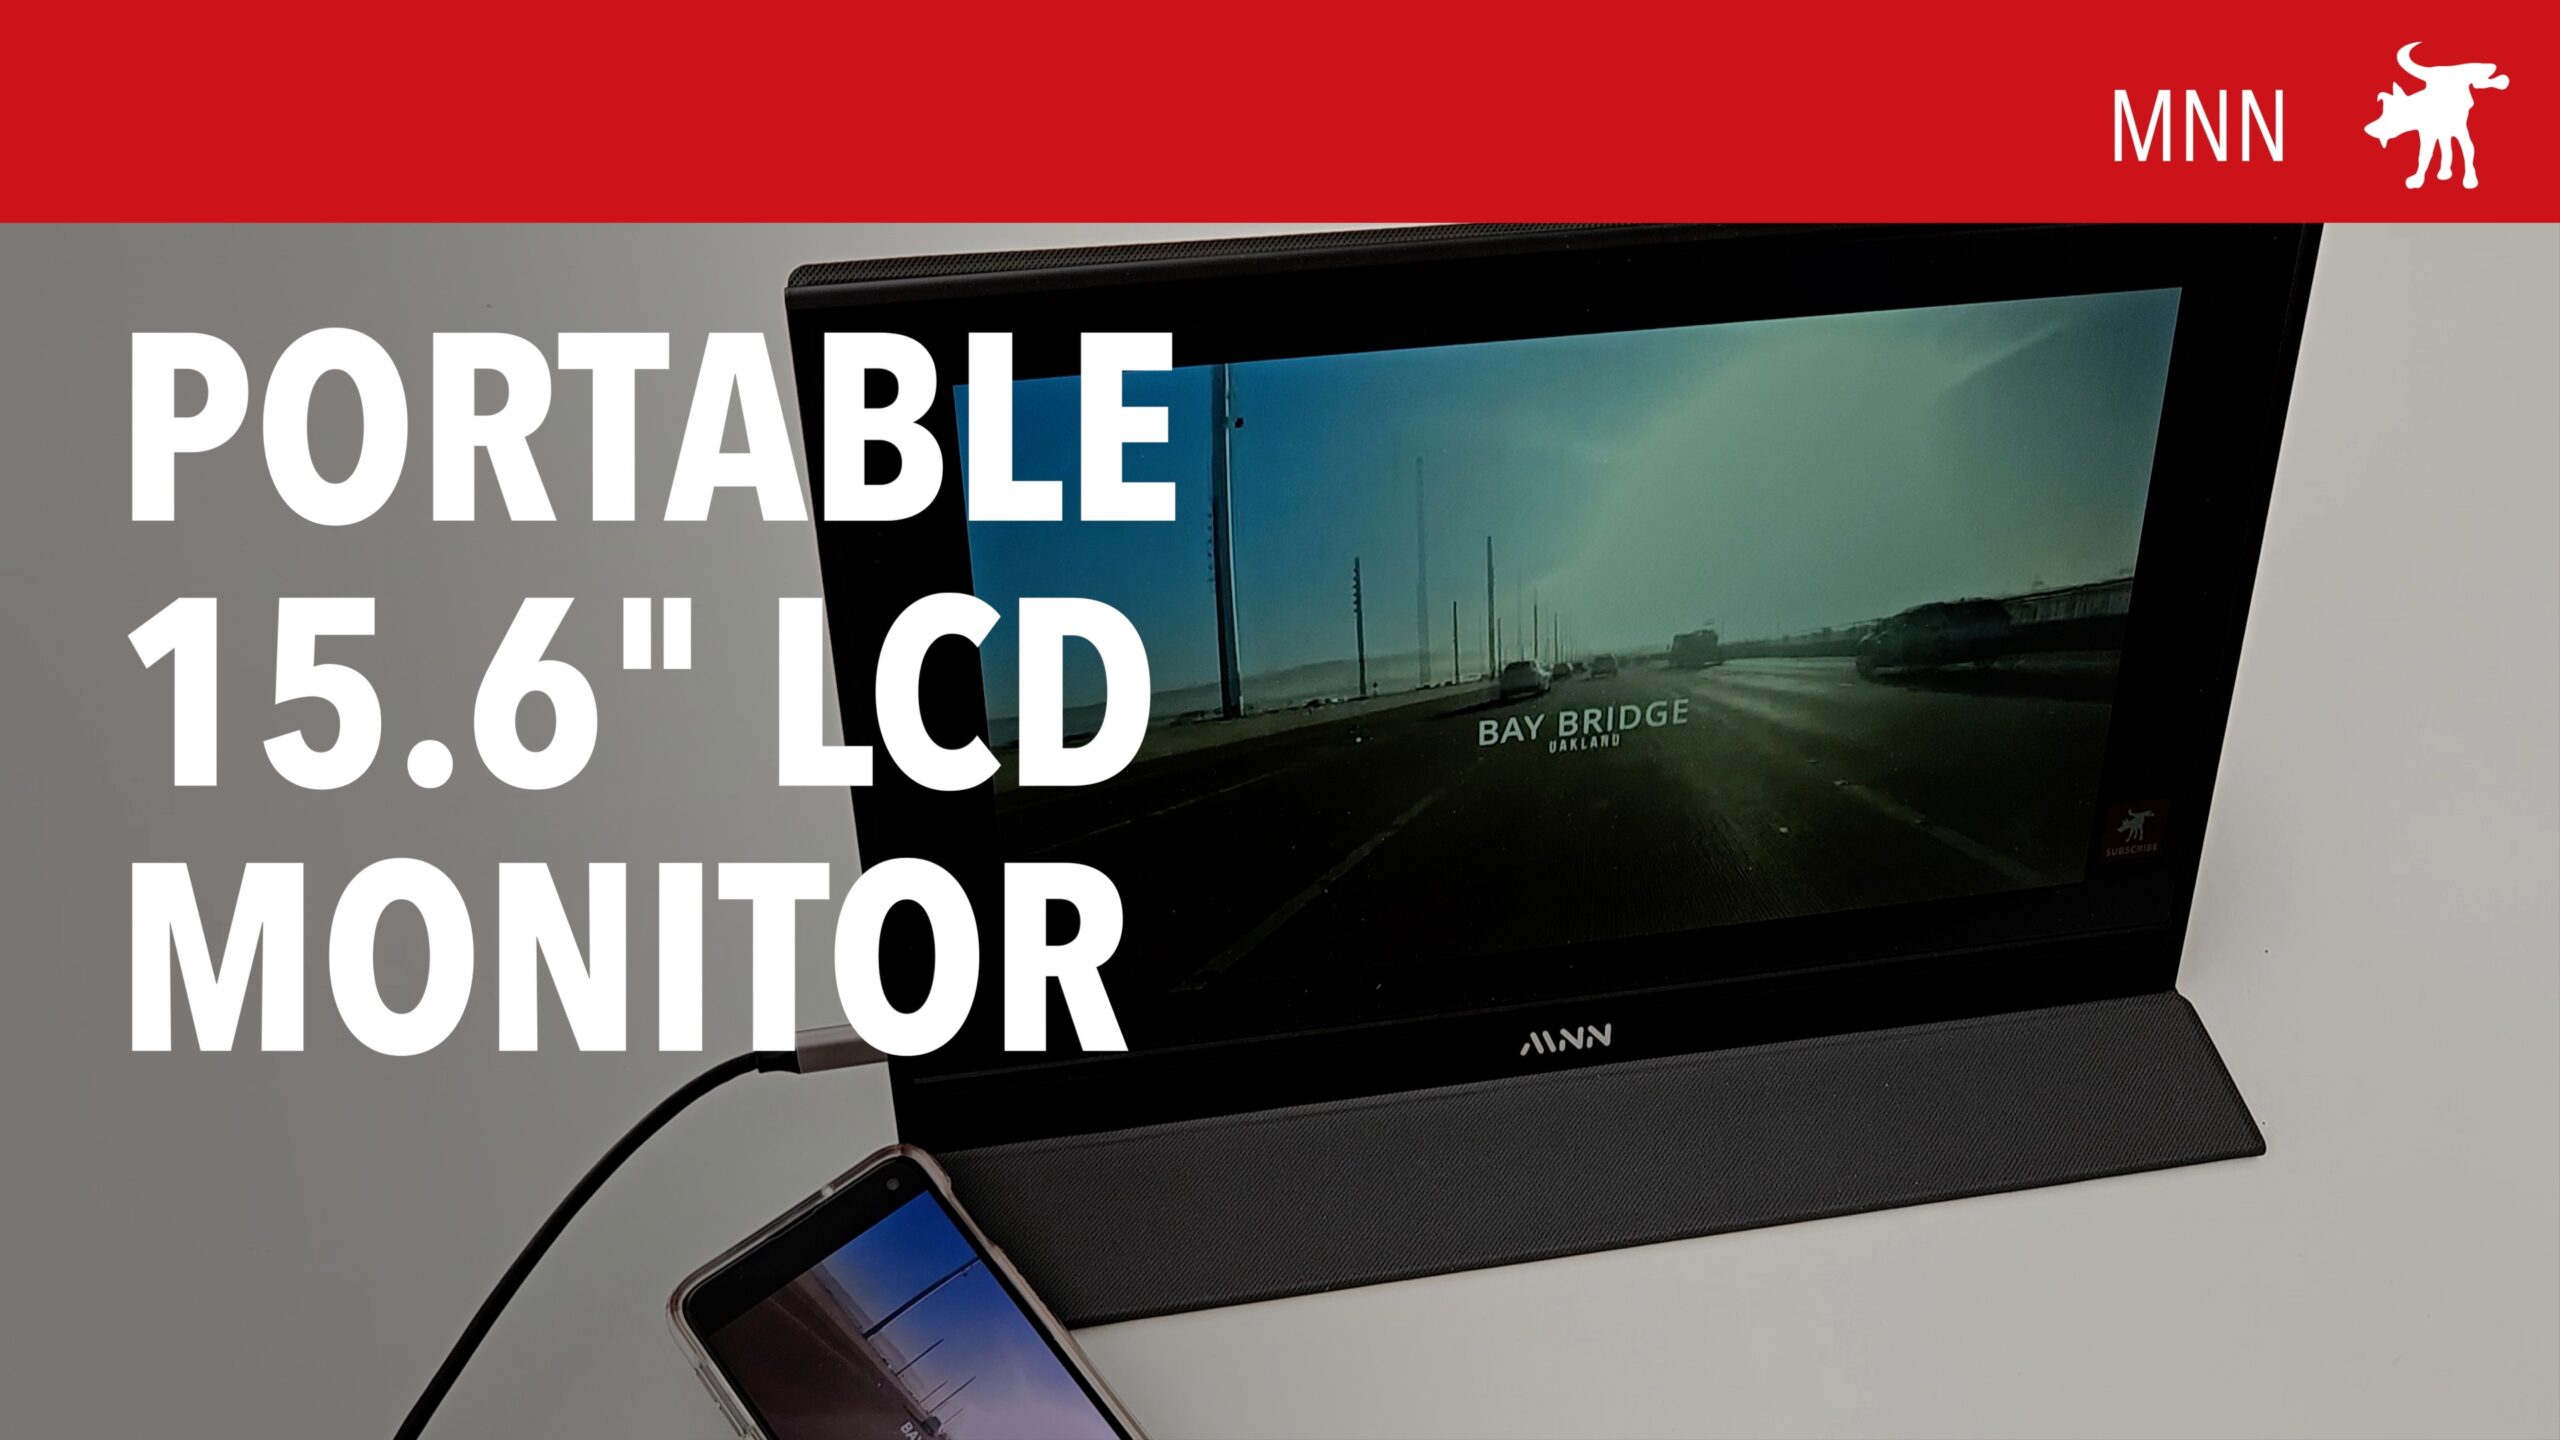
Fixing her screen would required replacing the entire LCD screen and display wiring which costs over a hundred dollars; almost as much as buying a used Macbook. As a hack, I purchased an inexpensive MNN portable LCD monitor from Amazon. The package includes a 1080p color screen, USB-C and HDMI cables, and a magnetic cover that can be folded into a monitor stand.

Plugging the MNN screen into the Macbook USB-C port, the LCD screen automatically synced to Mac and functioned as an extended monitor. Changing the System Prefs I was able to change the MNN to a mirrored monitor. This allowed me to functionally replace the Macbook screen with the MNN monitor.

I also tested the MNN monitor connecting it to my phone and it effortlessly sync and mirrored my phone screen. Color rendition was fair though not as intense or sharp as my Samsung OLED display. It also has built in speakers but these provide disappointingly thin sound.

AFFILIATE RETAILER LINK

Amazon https://amzn.to/3Wc5Imm

5.11 Braddock DP

5.11 Tactical is a outdoor and tactical outfitter which is best known for making specialized backpacks, hiking, and duty pants. At their own stores and 5.11 branded sections at retailers, you can also find 5.11 accessories like EDC knives; almost as an afterthought like swag.

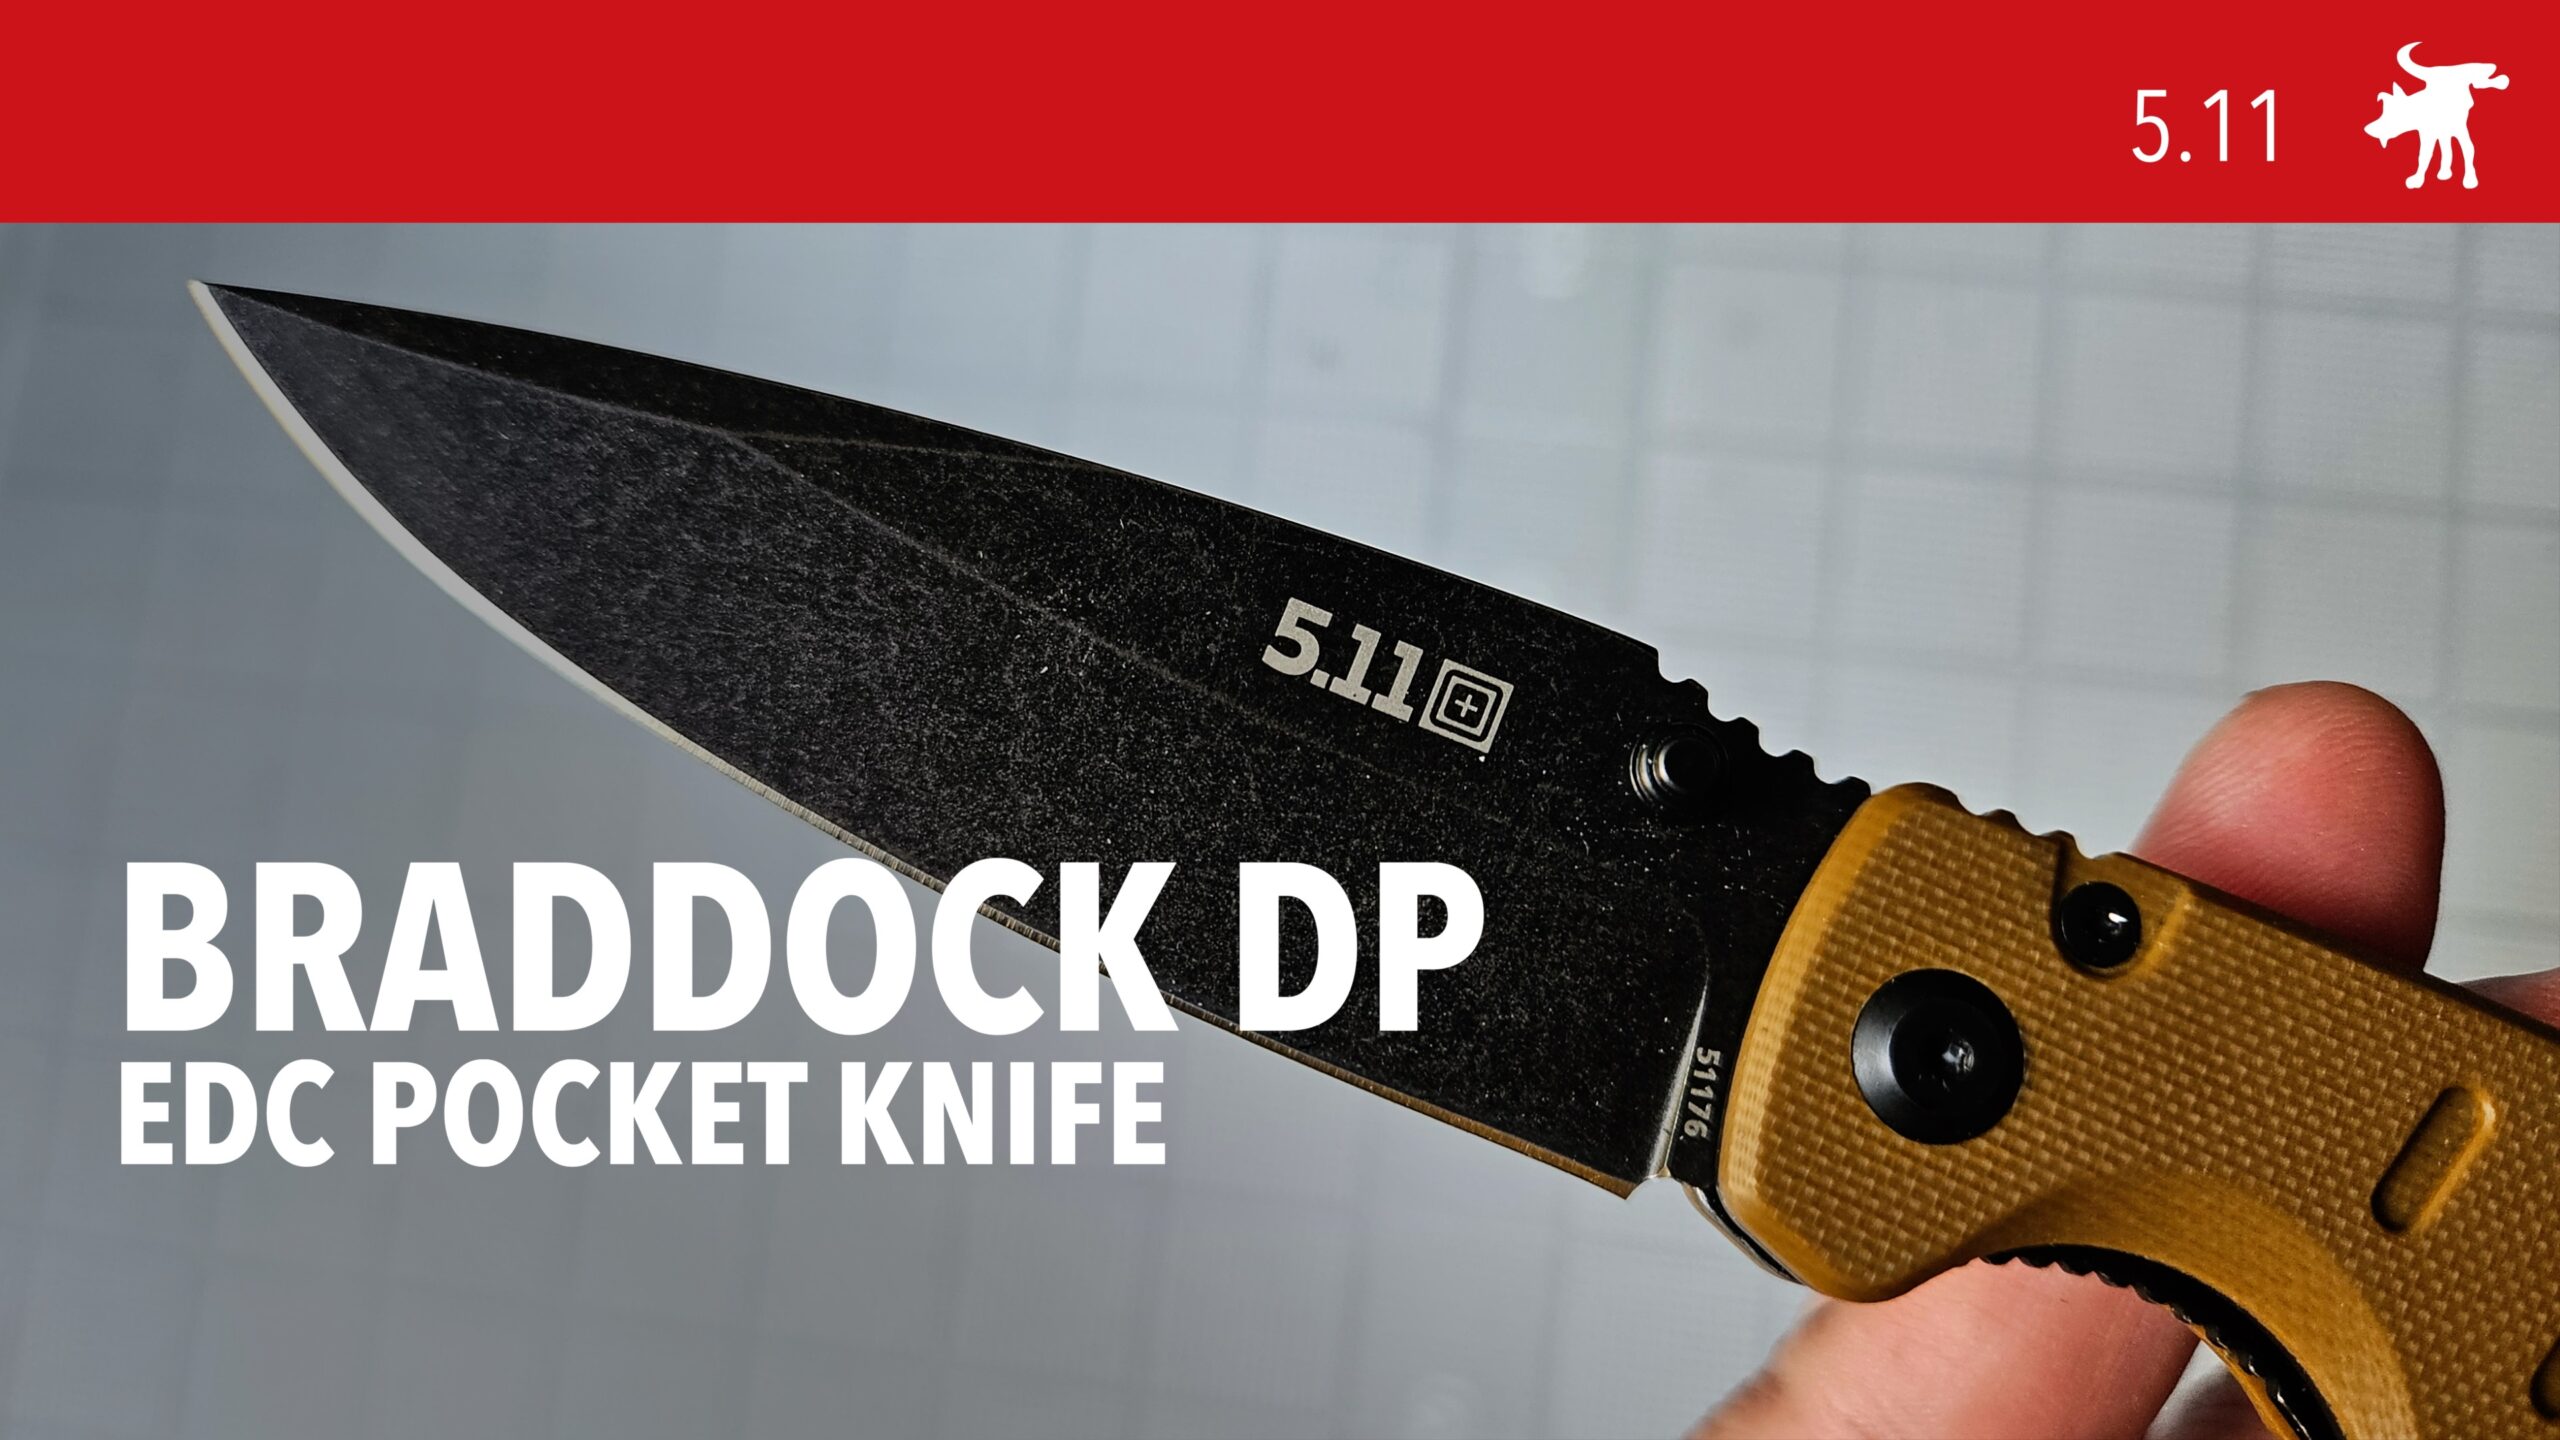
One of their newest is the 5.11 Braddock DP and on first blush it could be easily overlooked. The Braddock has the generic look of a archetypical tactical folding knife. Polymer handle with a frame lock design and a traditional drop point, with a half-length swedge and a black stonewashed finish.

On closer inspection, I found the handle to be solidly constructed with a grippy textured finish without the creak you’ll find on cheaper polymer knives. The blade was very sharp out of the box able to cut paper, 1/8″ paracord, and 1/4″ nylon clothesline with ease.

Overall it does feel a bit basic. The only stand out feature was the reposition-able pocket clip which comes in a matching color to the polymer body panel (kangaroo brown or black). The clip itself was shorter than typical knives. Its short length and matching color has the advantage of making the Braddock slightly more covert than most EDC knives.

5.11’s products command slightly premium pricing not as much as Arc’teryx or TAD but certainly in that “technical clothing” eco-system. While its a bit more than a baseline model from better known knife brands, the Braddock DP is well designed and well constructed. You’re getting good gear while paying only a modest brand name premium.

Available on Amazon through this affiliate link:

DIY Polarizer Filter for Security Cam

I have USB powered WiFi security cams around the house, including one on my second floor overlooking the street. It’s an 80 year old home so it doesn’t have outdoor power outlets and I didn’t want to drill a hole in the walls to snake a USB cable through to power an external outdoor cam. Instead, I mounted my Wyze cam indoors in my window.

Unfortunately my window mounted cam gets a lot of glare and unwanted reflections. Taking an idea from the world of photography, I wondered if I could somehow attach a polarizing filter to the cam. Polarizer filters restrict the angle of light that enters a lens. This reduces the overall amount of light entering a camera but it also significantly reduces glare and reflections in a photo or footage.

Polarizing filter sheets are available from most photo and camera stores (though there are fewer and fewer of those). I purchased a pack of polarizing filter sheets from the Photography section on Amazon. These are thin square sheets of plastic film that appear tinted.

By placing this film at 90º or 45º to the axis of your camera, you can reduce perceived glare and reflections. Some experimenting is required to get the best results. I cut off a piece of filter just large enough to cover my cam lens then taped it down.

One re-mounted, I found that the film did not entirely remove all of the reflections but it reduced it noticeably. Furthermore shadow areas in the scene were enhanced and the overall scene had greater contrast and detail. The only downside is that it reduces night/low-light performance slightly with more blurs and digitizing of night footage. I think the trade-off is worth it. This 5-minute DIY hack works on any home security cam and also works on car dash cams.

10-PACK POLARISING SHEETS vailable on Amazon through this affiliate link: https://amzn.to/46eRe6i

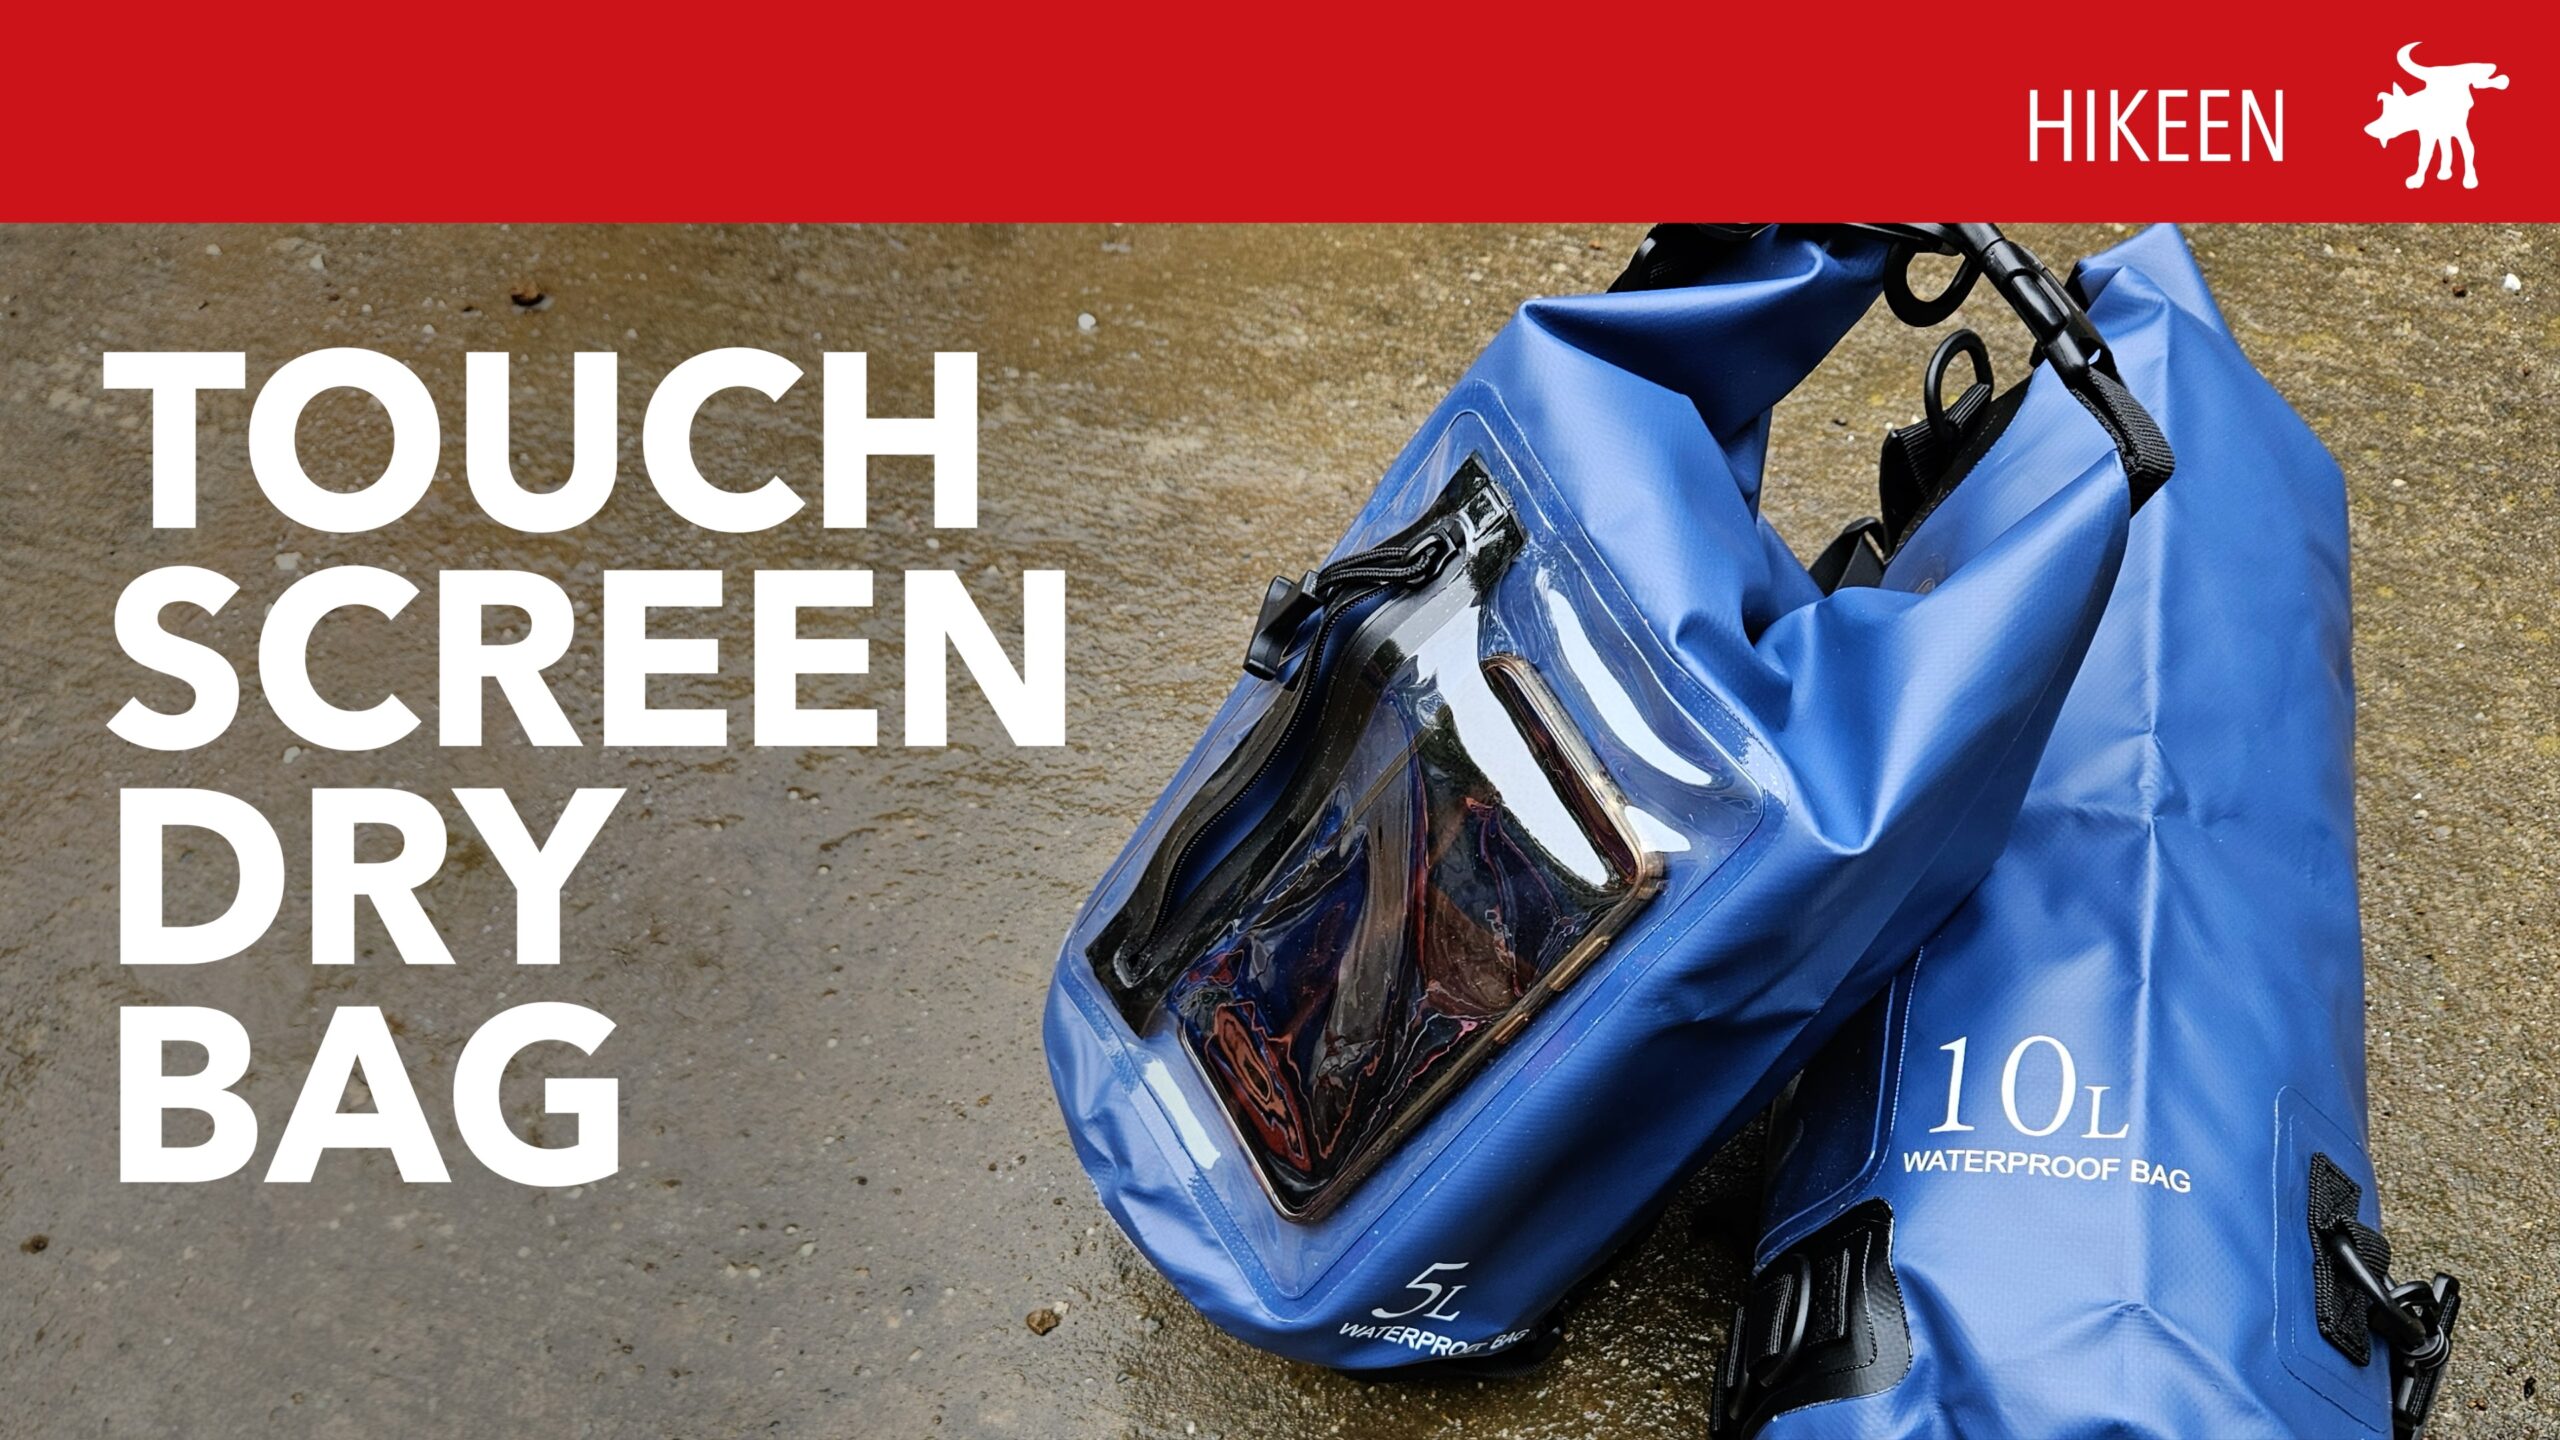
Hikeen Dry Bag

Hikeen sent me a 10L and 5L of dry bag. For those of you who haven’t been to a rafting, kayaking, or a water park lately, dry bags are water proof, vinyl bags with a folding closure to keep items dry inside. When folded shut correctly, these bags are so air tight that they can be used as floats.

What makes these bags different is that they have a built-in external pouch for you phone. Normally if you store it in a dry bag, you have to find a dry, stable location to open up the dry bag and get to your phone. The water tight clear zippered pouch allows you to use your phone’s touch-screen while inside, allowing you to answer calls or read text messages without having to remove your phone.

The pouch has a zipper with rubberized seals similar to dry suits used by kayakers and cold water scuba divers. The entire bag is rated IPX7 waterproof, capable of submersion in 1m of water for up to 30 minutes. I don’t have a pool to test them in so I tested them to IPX6 standards.

I places sheets of toilet paper in the phone pouch and inside the main bag. Next, I shot a high-pressure water hose at its main opening, the zipper pouch, and the seams for over a minute. I opened up the bag and found both sheets bone dry.

Hikeen makes these bags in 5L, 10L, and 20L sizes (denoting the internal volume capacity). In a pinch you could also use these bags in reverse and cary water in them. This makes them an ideal survival accessory for any home or an emergency bag in any car. My only criticisms is that the external pouch is a bit small for larger sized phones and that they only cary one color choice on Amazon: blue.

Support my channel using the Amazon affiliate link below.

ONLINE SOURCES

Amazon https://amzn.to/49QtOHt

Top 10 Buys for 2023

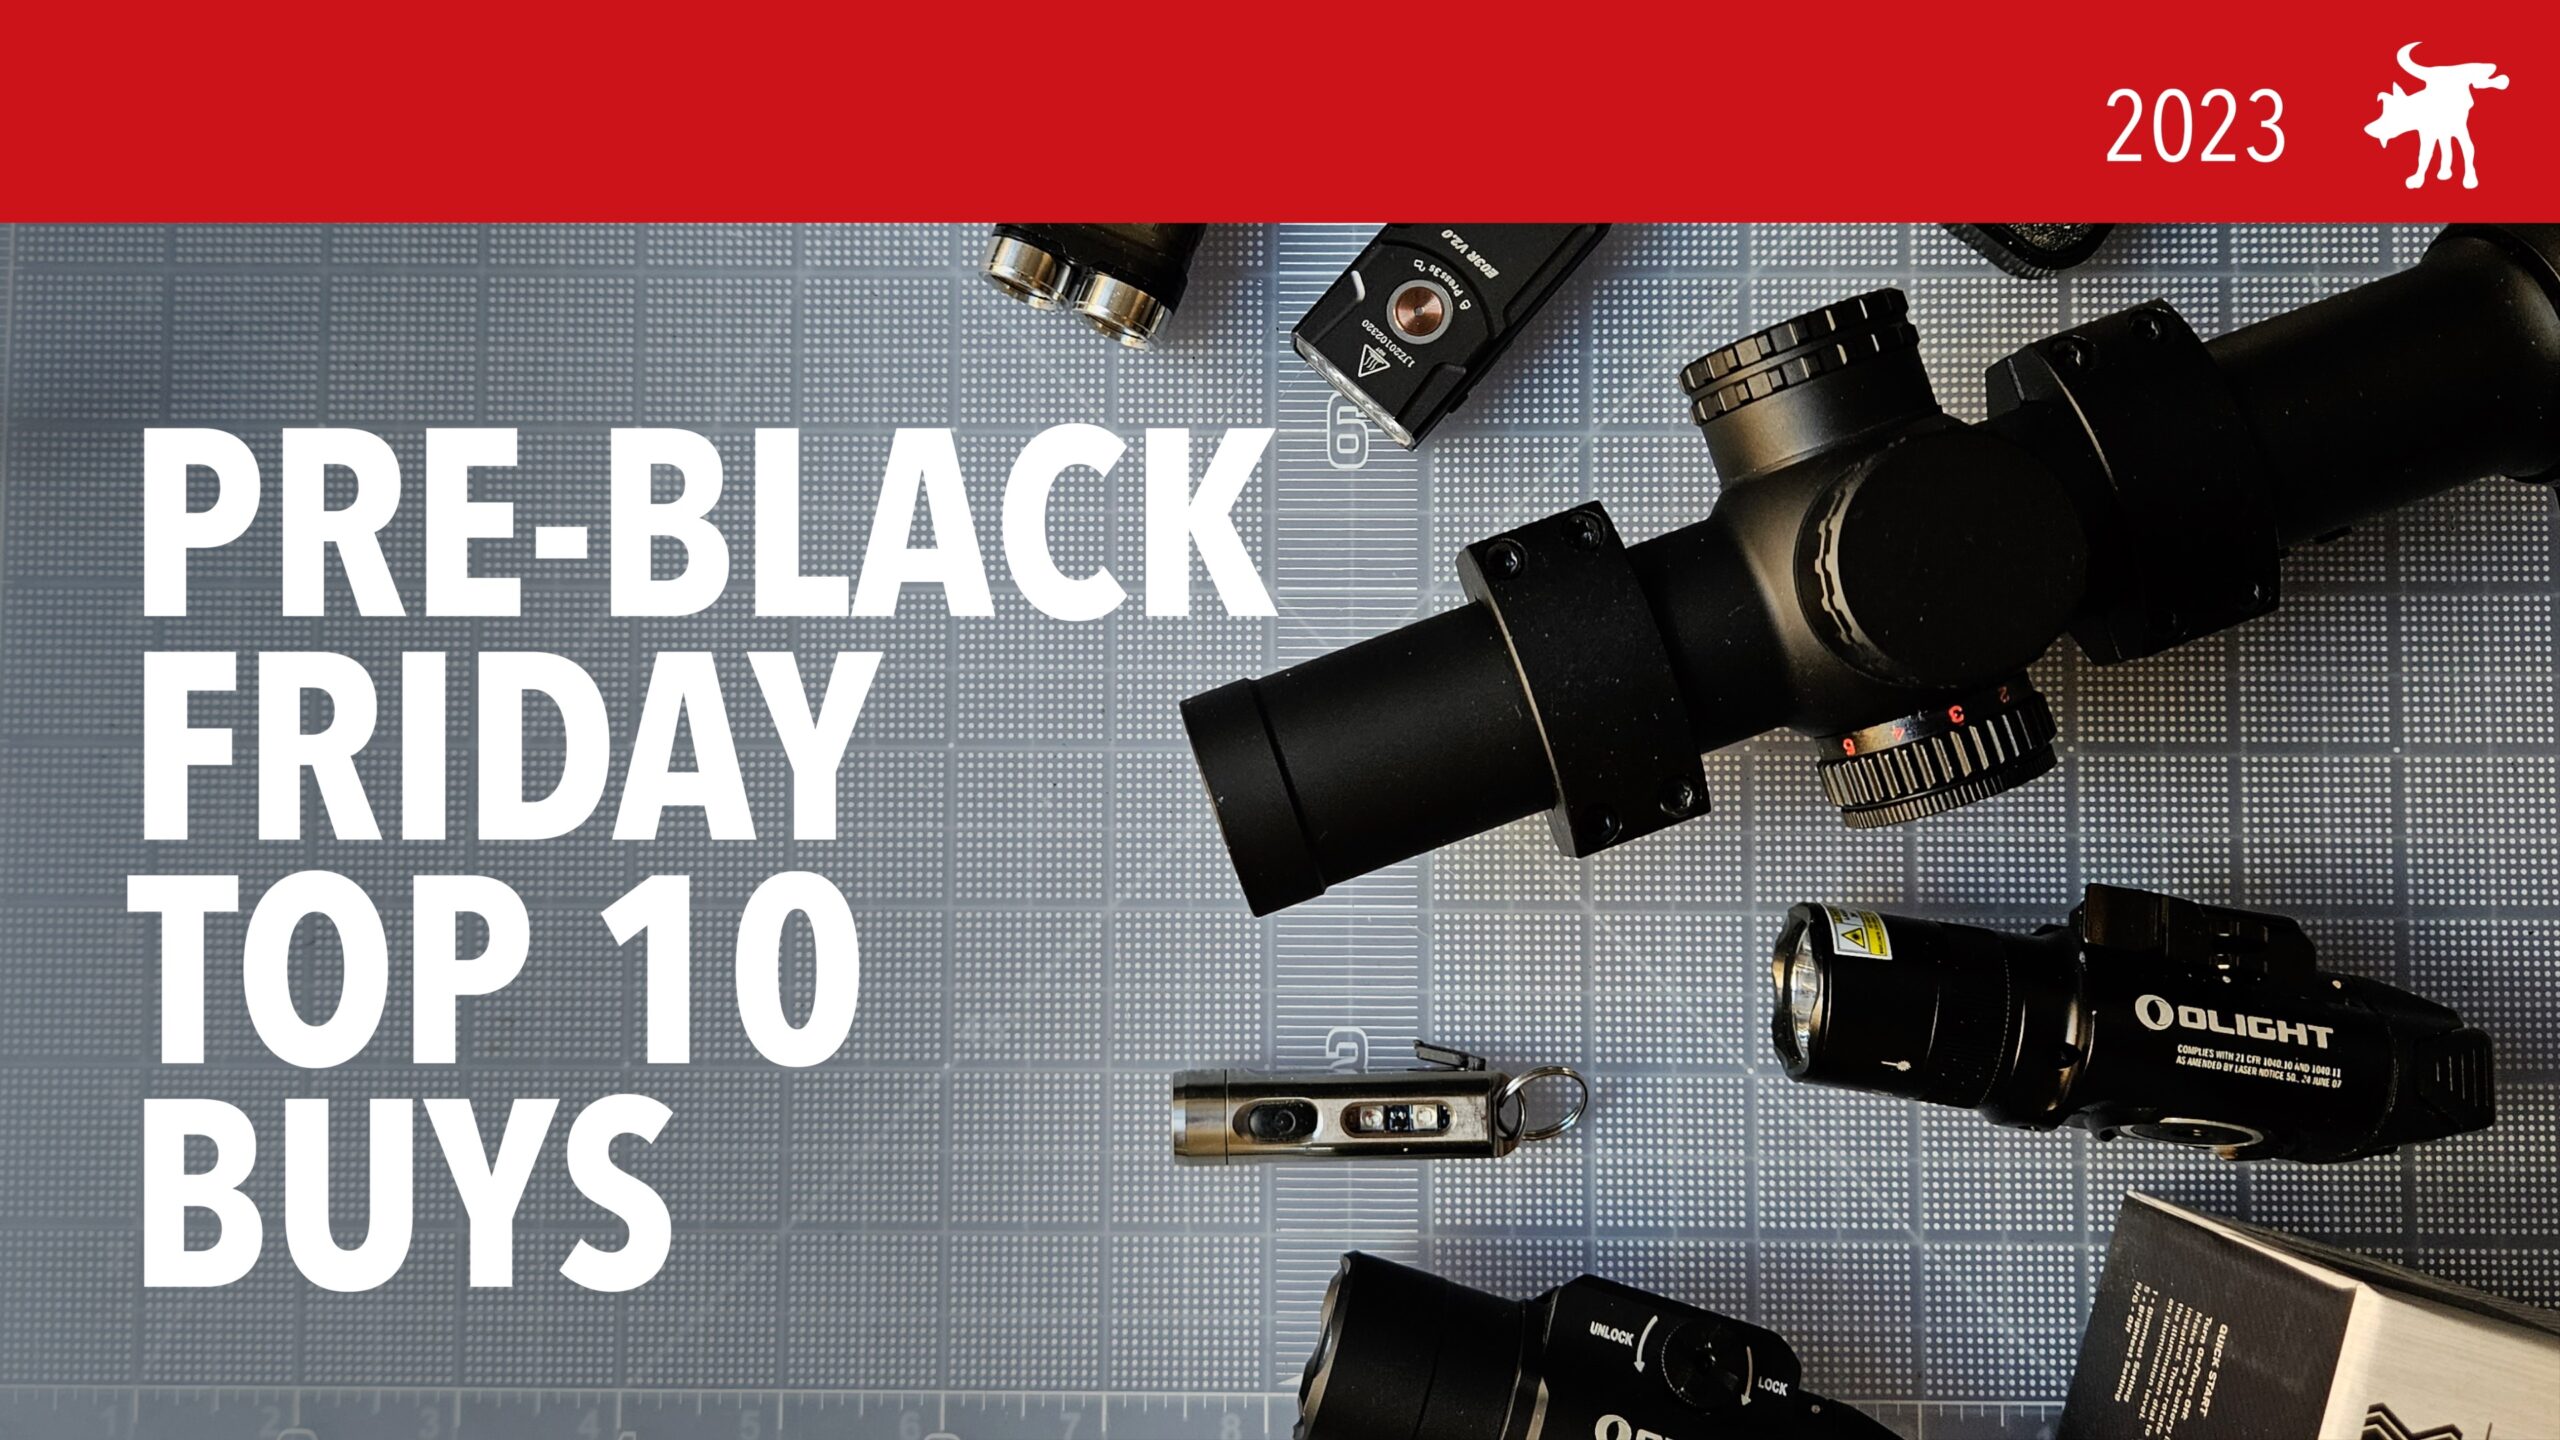
Black Friday is almost here and Mariah Carey invades the radio. It’s that time of year to think about buying gifts for our family, friends, and for ourselves. With that in mind, here are my Top 10 Best Buys from products I’ve personally tested and reviewed on this channel. Starting from inexpensive to indulgent.

Moondog Industries TOP 10 Pew Pew Products

  1. Feyachi push button laser bore sighter $17
    Caliber 9mm https://amzn.to/3sMf0J6
    Caliber 223/5.56mm https://amzn.to/3PrYzuh
  2. Feyachi S27 Fiber Optic iron sights $27
    https://amzn.to/3MxH2yL
  3. Fenix EO3 Keychain light $30
    https://amzn.to/3rm6109
  4. OLIGHT PL Turbo $89
    https://amzn.to/3RUHpXQ
  5. Athlon Talos a $150
    https://amzn.to/3u4AuBy
  6. Banshee LPVO BDC $239
    https://amzn.to/3QKH6hd
  7. Arken EPL4 $330
    https://amzn.to/46daLUZ
  8. Sig TANGO MSR 1-10x $550
    https://amzn.to/46daLUZ
  9. Athlon Cronus 10×50 Binoculars $1000
    https://amzn.to/3QH3Qi5
  10. Tract Toric $1700
    https://amzn.to/3R6TN6r

Moondog Reviews TOP 10 GADGET BUYS

Face Tracking Phone Camera Tripod Mount

Having a camera on a motorized gimbal that could automatically center itself and points to you is a cool idea but until now was crazy expensive. With advances in electronics and facial recognition software, a tracking tripod mount that used to cost hundreds now can available for under $20. I purchased one online with the intent of using it for my video production. But they say you get what you pay for, so I thought it best to tested it out.

The tracking mount comes in 3 color choices in a plastic with a USB-C rechargable internal battery. It mounts to a tripod via a 1/4″ photo screw at the base. It comes with a screw on circular base so that you could place it on a table top flat surface and use the motorized mount alone to film with your phone.

The top of the unit has a spring loaded clamp that holds your phone (or possibly a small camera) and tilts and rotates to allow for both vertical or horizontal orientations. The power button turns the unit on with a long press and two quick taps when on, puts the mount on a slow 360º rotation mode.

When on, the unit automatically tracks to center the mount on a face in front of the mount. A small camera at the base views a subject and can be tilted. I was not able to test the mount using multiple subjects or groups of people. Presumably the mount would not be able to identify the “primary” subject.

The tracking can be disabled by holding your hand up like a Stop Sign. Then reactivated by holding up an OK symbol with your fingers. There is no remote included with the model I bought, but I have seen more expensive models online with remotes.

Tracking was good but reactive and not predictive. The unit tries to catch up to your face but if you move to quickly it can not keep you in the center until it catches up. The movement speed does speed up depending on how quickly you move. Short of sprinting or bounding out of frame, the unit managed to catch up eventually. Unfortunately, the unit always places the subject with a face in the center of the field of view so you can’t do 1/3 framing of your shots.

For solo travel vloggers, the P01 could be an easy way to allow you some freedom when showing off and pointing out locations behind you. In addition, in 360º mode, it can be used to create tasteful pan B-Roll footage. For the price, I think this would be a useful took for vloggers.

This mount came in a generic box marked P01 but having no other branding. It is sold on Amazon under various brand and store names.

ONLINE RETAILERS

Support my channel using these commissioned affiliate links

Amazon (under various brand names): https://amzn.to/4607QPM

Getatek 10Gbps USB 5-in-1 HUB

Modern laptop with USB-C ports have the benefit of data speeds up to 5,10, or even 20Gbps. But to conserve space, many laptop and tablet makers also use the USB-C port as its charging port. This can be an issue when you want to charge and use multiple USB peripherals at the same time.

Some Thunderbolt 3/4 compatible USB hubs which also offer PD (Power Delivery) power passthrough can cost $30 or up to $200 for some “docking stations”. I use a laptop to conserve space and for portability, so finding a USB hub with a small footprint was also a primary criteria. Unfortunately many inexpensive hubs lack PD passtrough, are USB 3.0 or slower, or have HDMI or other peripheral connections I don’t need.

Fortunately, I found a Getatek USB hub on Amazon for under $18 (at the time of purchase, there was a 15% Prime discount). The Getatek hub has a mix of 2x USB-A and 2x USB-C ports that are USB 3.1 Gen 2 ports with data rates of up to 10Gbps. In addition, it has third USB-C port that allows for PD passthrough power. All in all, an ideal mix of USB ports and features.

In my testing, I was able to confirm that the PD port allowed a pass through approaching its claimed 100W capacity (my test charger is an older 90W Apple adpater). In my data testing using a SSD drive, I was able to get data transfer speeds over 8.5Gbps, which is close enough to its claimed 10Gbps max speed. I experienced some power drops initially but discovered this was caused by a poor connection in my testing cable and not the hub itself.

If you’re looking for one of the least expensive USB hubs with a mix of both old school USB-A ports and new USB-C ports, fast USB 3.1 speeds, and power passthrough, the Getatek may be an ideal choice. Or whatever brand this hub may be found under as it’s likely Getatek is yet another random OEM keymash brand.

RETAILERS

Amazon #commission https://amzn.to/48ly2q2

Sunwayfoto Hunting T2830CS

Sunwayfoto sent me a T2830CS carbon fiber shooting tripod. This is the little brother to their T3240CS, which I reviewed not long ago as the “lightest hunting tripod”. Well I stand corrected because the T2830CS is a half pound lighter still. This shooting tripod weighs only 2.9lbs.

Lighter than the T3240CS while only slightly shorter (3 leg sections instead of 4) and retaining the same low profile ball head. The lighter weight makes the T2330CS a much more appealing tripod for hunters who have to trek or ride into back country. The direct from Asia model I was sent, is both Arca-Swiss and direct Picatinny compatible.

Like it’s big brother, the 2830 sports sturdy yet light carbon fiber legs with broad rubberized pads for a firm grip on hard surfaces; but which can be swapped for spikes in the wild terrain. The 36mm diameter ball head can tilt up to 35º of angle while keeping my +10lb rifle and scope combo rock solid. The legs can splay out to nearly 90º offering exceptional stability when shot from a seated or semi-prone.

The carbon fiber legs are not only lighter weight than traditional aluminum tripods, but they soak up vibration from recoil. With my 5.56mm AR, I was able to maintain a similar group on target, shooting with the T2380CS from both standing and sitting positions; which was comparable to shooting bipod off a bench.

ONLINE RETAIL SOURCES

Amazon #commission
https://amzn.to/3R5L70h

MANUFACTURER SPECS

Specifications   
Weight1.3kg (2.9lbs)
Folded Length64cm (25.2in)
Max Height144cm (56.7in)
Min Height4.7cm (1.9in)
Load Capacity20kg (44lbs)
MaterialsCarbon Fiber, Aluminum
FeaturesQuick-release plate, 360-degree panning base, bubble level
Warranty6-year warranty

Rockville Go Party ZR10

I had never heard of the Rockville brand before purchasing the ZR10 party speaker. It’s Specs were impressive though probably a little inflated: 1000Watts of peak power and 200Watt RMS; and internal runtime of up to 14.5hrs of battery power. From what I could see it had positive aspects like twin 10″ woofers, 2x mic jacks, and a separate guitar input and gian. I took a risk and ordered it.

The unit looked legit. It was over 3 feet tall and weighed over 28lbs. With speakers the old-school rules were, that heavier = better as heavier magnets and power supply means louder. Though with portable speakers, that can also mean bigger batteries.

The user manual was pretty useless. Fortunately pairing the speaker with my phone via Bluetooth was easy enough. The unit can also pair via TWS to another ZR10 or similar unit to provide stereo sound. The unit also comes with an auto-pairing wireless microphone.

Maxing out the volume, the speaker proved sufficiently loud to fill a 60’x30′ banquet hall with audio. In my music testing, the speaker favored mid-ranges and Rock music. The unit has a ported subwoofer channel in the housing but the overall bass response was underwhelming.

As a guitar amp, it sounded as loud as a 80-100Watt amp. can’t confirm that it had a 200Watt RMS output, but I suspect that number is inflated. The ZR10 is as expensive a 40Watt guitar amp which sounds better. But when you factor in ZR10’s portable self-power capabilities, it may be a far more capable option.

ONLINE RETIAL SOURCES

Amazon #commission: https://amzn.to/46pXlFz

OLIGHT PL Turbo Valkyrie

A few years ago, I bought an OLIGHT PL-2 Valkyrie because it offered the best value in terms of price to lumen output. I liked the physical design of the Valkyrie and the PL-2 was one of the few +600 lumen lights priced under $150. When OLIGHT contacted me to review their soon to be released PL-Turbo Valkyrie I was eager to see how this new light compared to mine.

The PL-Turbo is an improvement on the Turbo Valkyrie offering a bump up from 250 lumens to a more blinding 800 lumens in the PL-Turbo, while sacrificing only a slightly shorter yet still impressive 515m throw. The other noticeable changes is a screw mount, an adjustable position mounting system, and surprisingly: a 60% drop in retail price.

Compared to my 1200 lumen PL-2, the PL-Tubo is 1/4″ longer and has a more matte black coated surface. Both are powered by a pair of C123A or rechargeable RCR123A batteries. Both share identical control button/panels which are some of the best in the category.

In my lumen testing I discovered that the PL-2 output 50% more than its specified 800 lumens. Many budget brand and knock-off weaponlights outrageously inflate their lumen numbers. It is laudable in that OLIGHT understated the PL-Turbo’s performance numbers.

The PL-Turbo retains the Turbo’s tight beam pattern; a product of its laser powered LEP illumination. Inside the narrow beam is an extremely bright and small hot spot. At 10ft, it appears as a 1ft wide circle that can function as an aim point. While the beam is narrower than OLIGHT’s other Valkerie or Baldr lights but its intensity offers sufficient bounce light to illuminate a residential room.

I don’t claim that any OLIGHT is as durable or as reliable as military tested weapon lights from US built brands. But this OLIGHT is more than sufficient to meet my average-civilian needs. With all of the PL-Turbo’s improvements to the older Valkyrie Turbo and at a lower price, its a no-brainer that the PL-Turbo is a good value.


RETAIL SOURCES

Amazon #commission https://amzn.to/3RUHpXQ

MANUFACTURER SPECS

PL Turbo
Lumens: 800
Max Run Time:120 min
Maximum Range: 515m
Length: 89.7mm
Weight w/battery: 127.3g
Battery type: 2x CR123A
Track compatibility: Glock, 1913